Create a Paywall
Learn how to create a full-featured paywall for your app without code.
In this article, learn how to create a full-featured Paywall for your app without code using the Paywall Creator.
This solution is recommended if you're building a new app or offering in-app purchases or subscriptions for the first time.
Get Started with the Paywall Creator
-
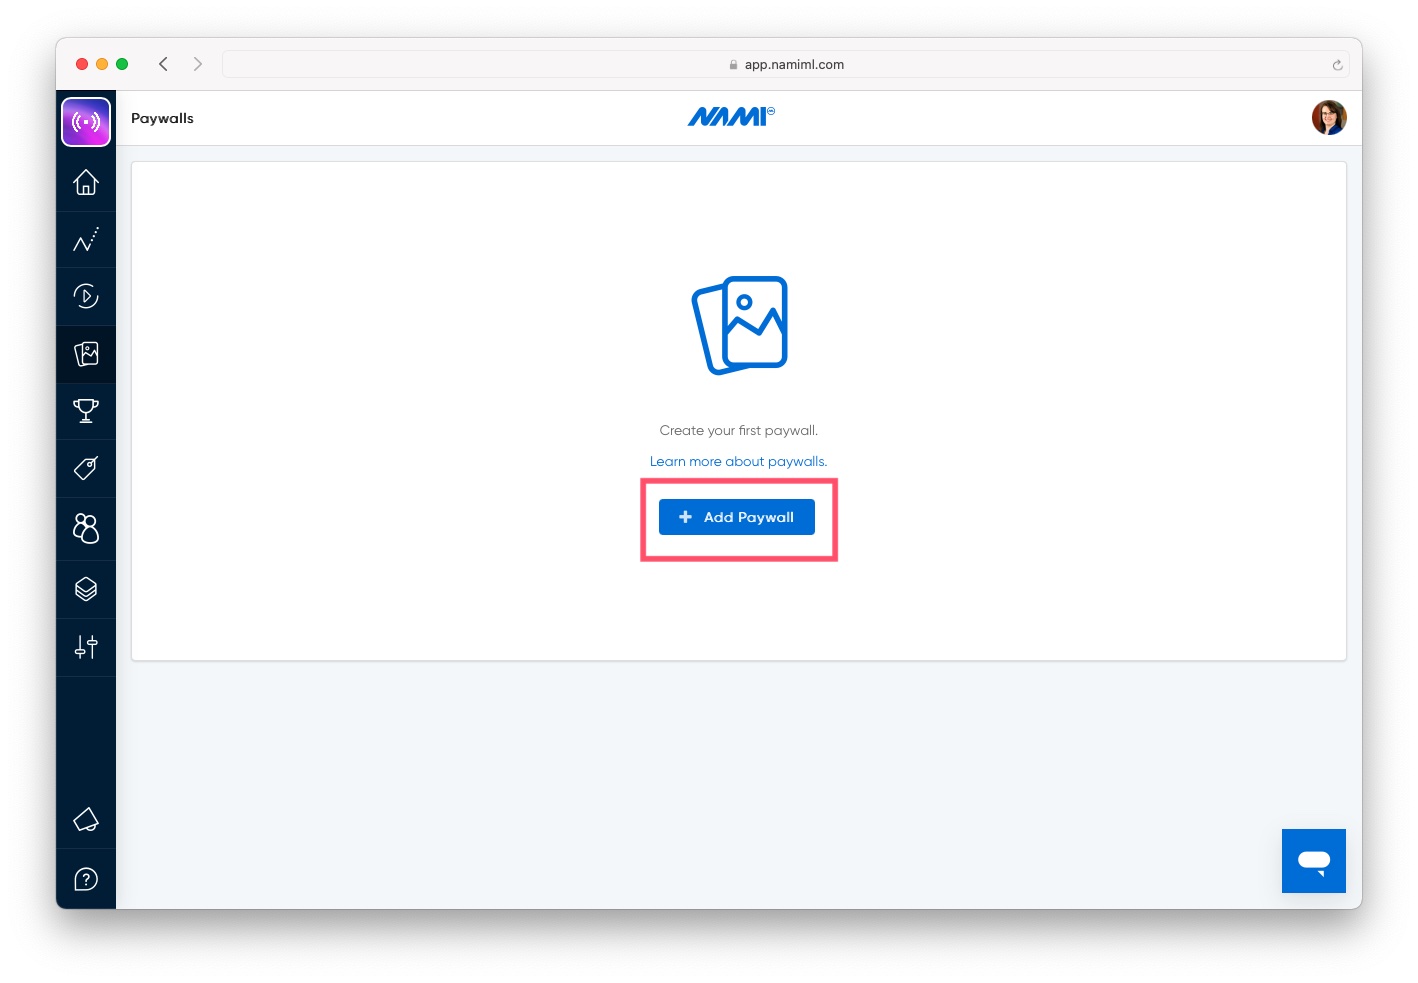
Navigate to Nami Control Center > Paywalls
-
Click the "+ Add Paywall" button
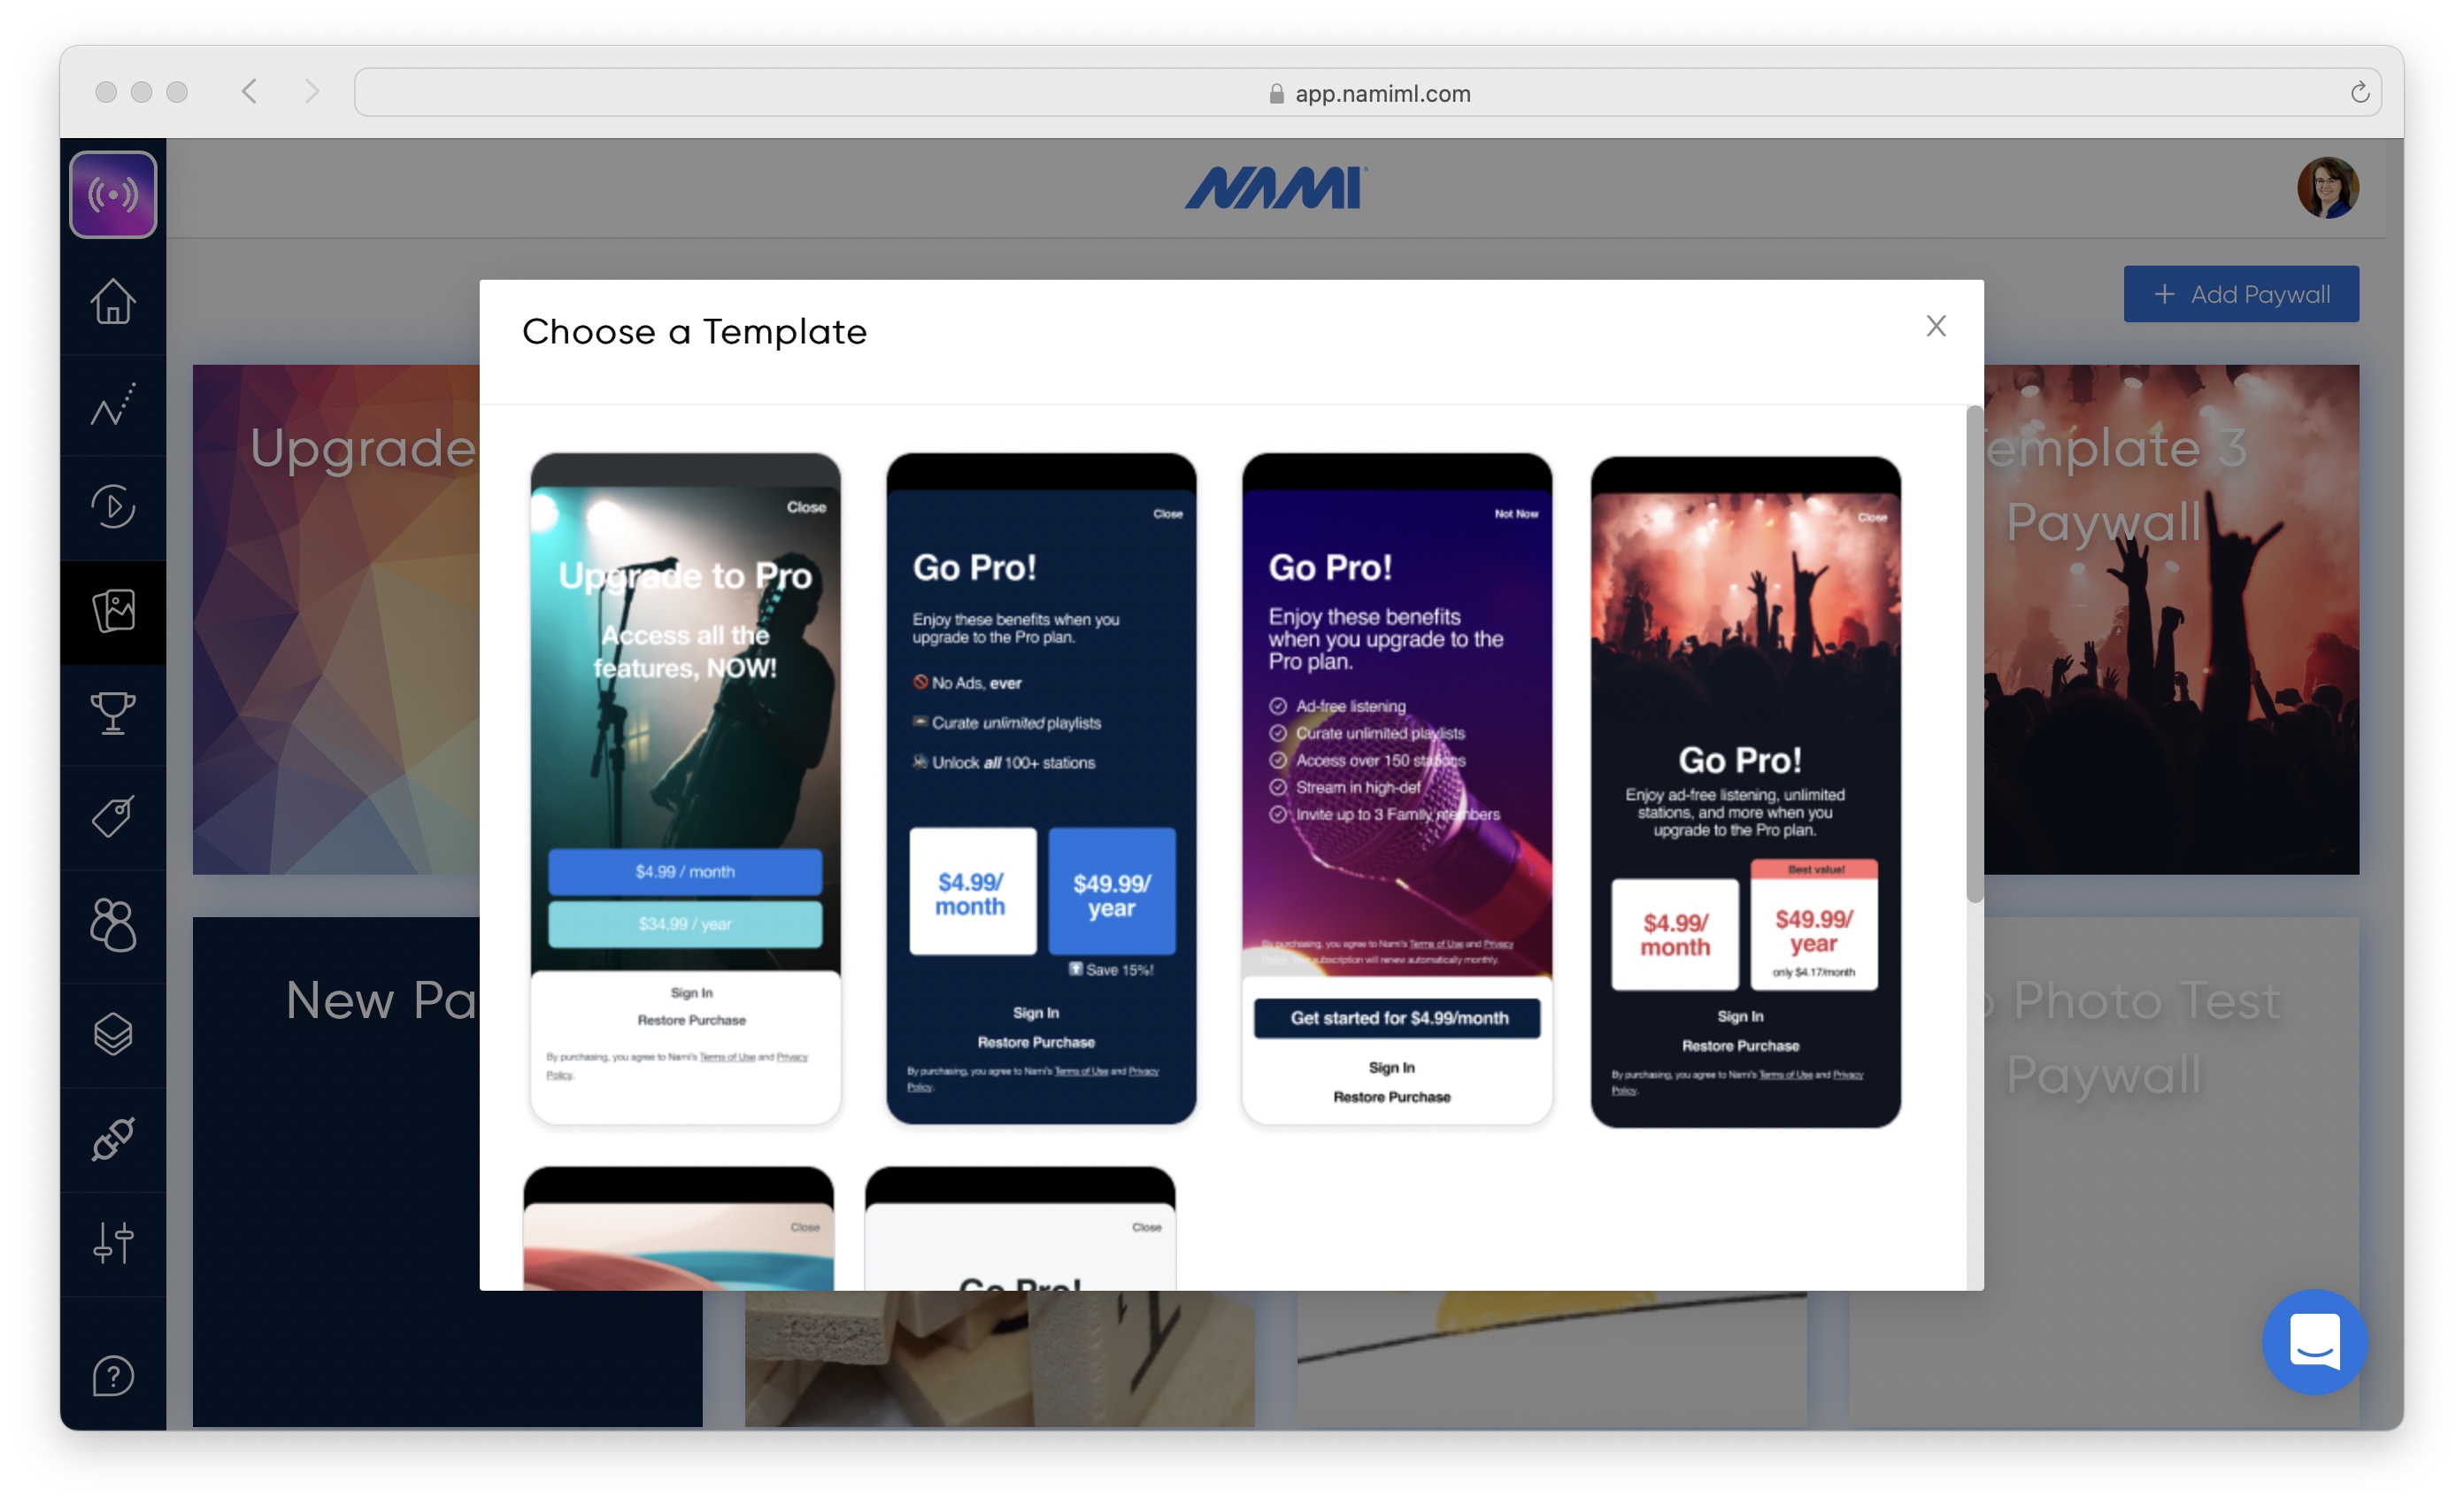
- Get starting by choosing a paywall template.
Configuring your Paywall
Your paywall template has been pre-configured with sample copy and styling. You can change any of these values at any time.
Changes to paywalls are only saved when you click Save. You may make changes across multiple different components and save all those changes with a single click of the Save button.
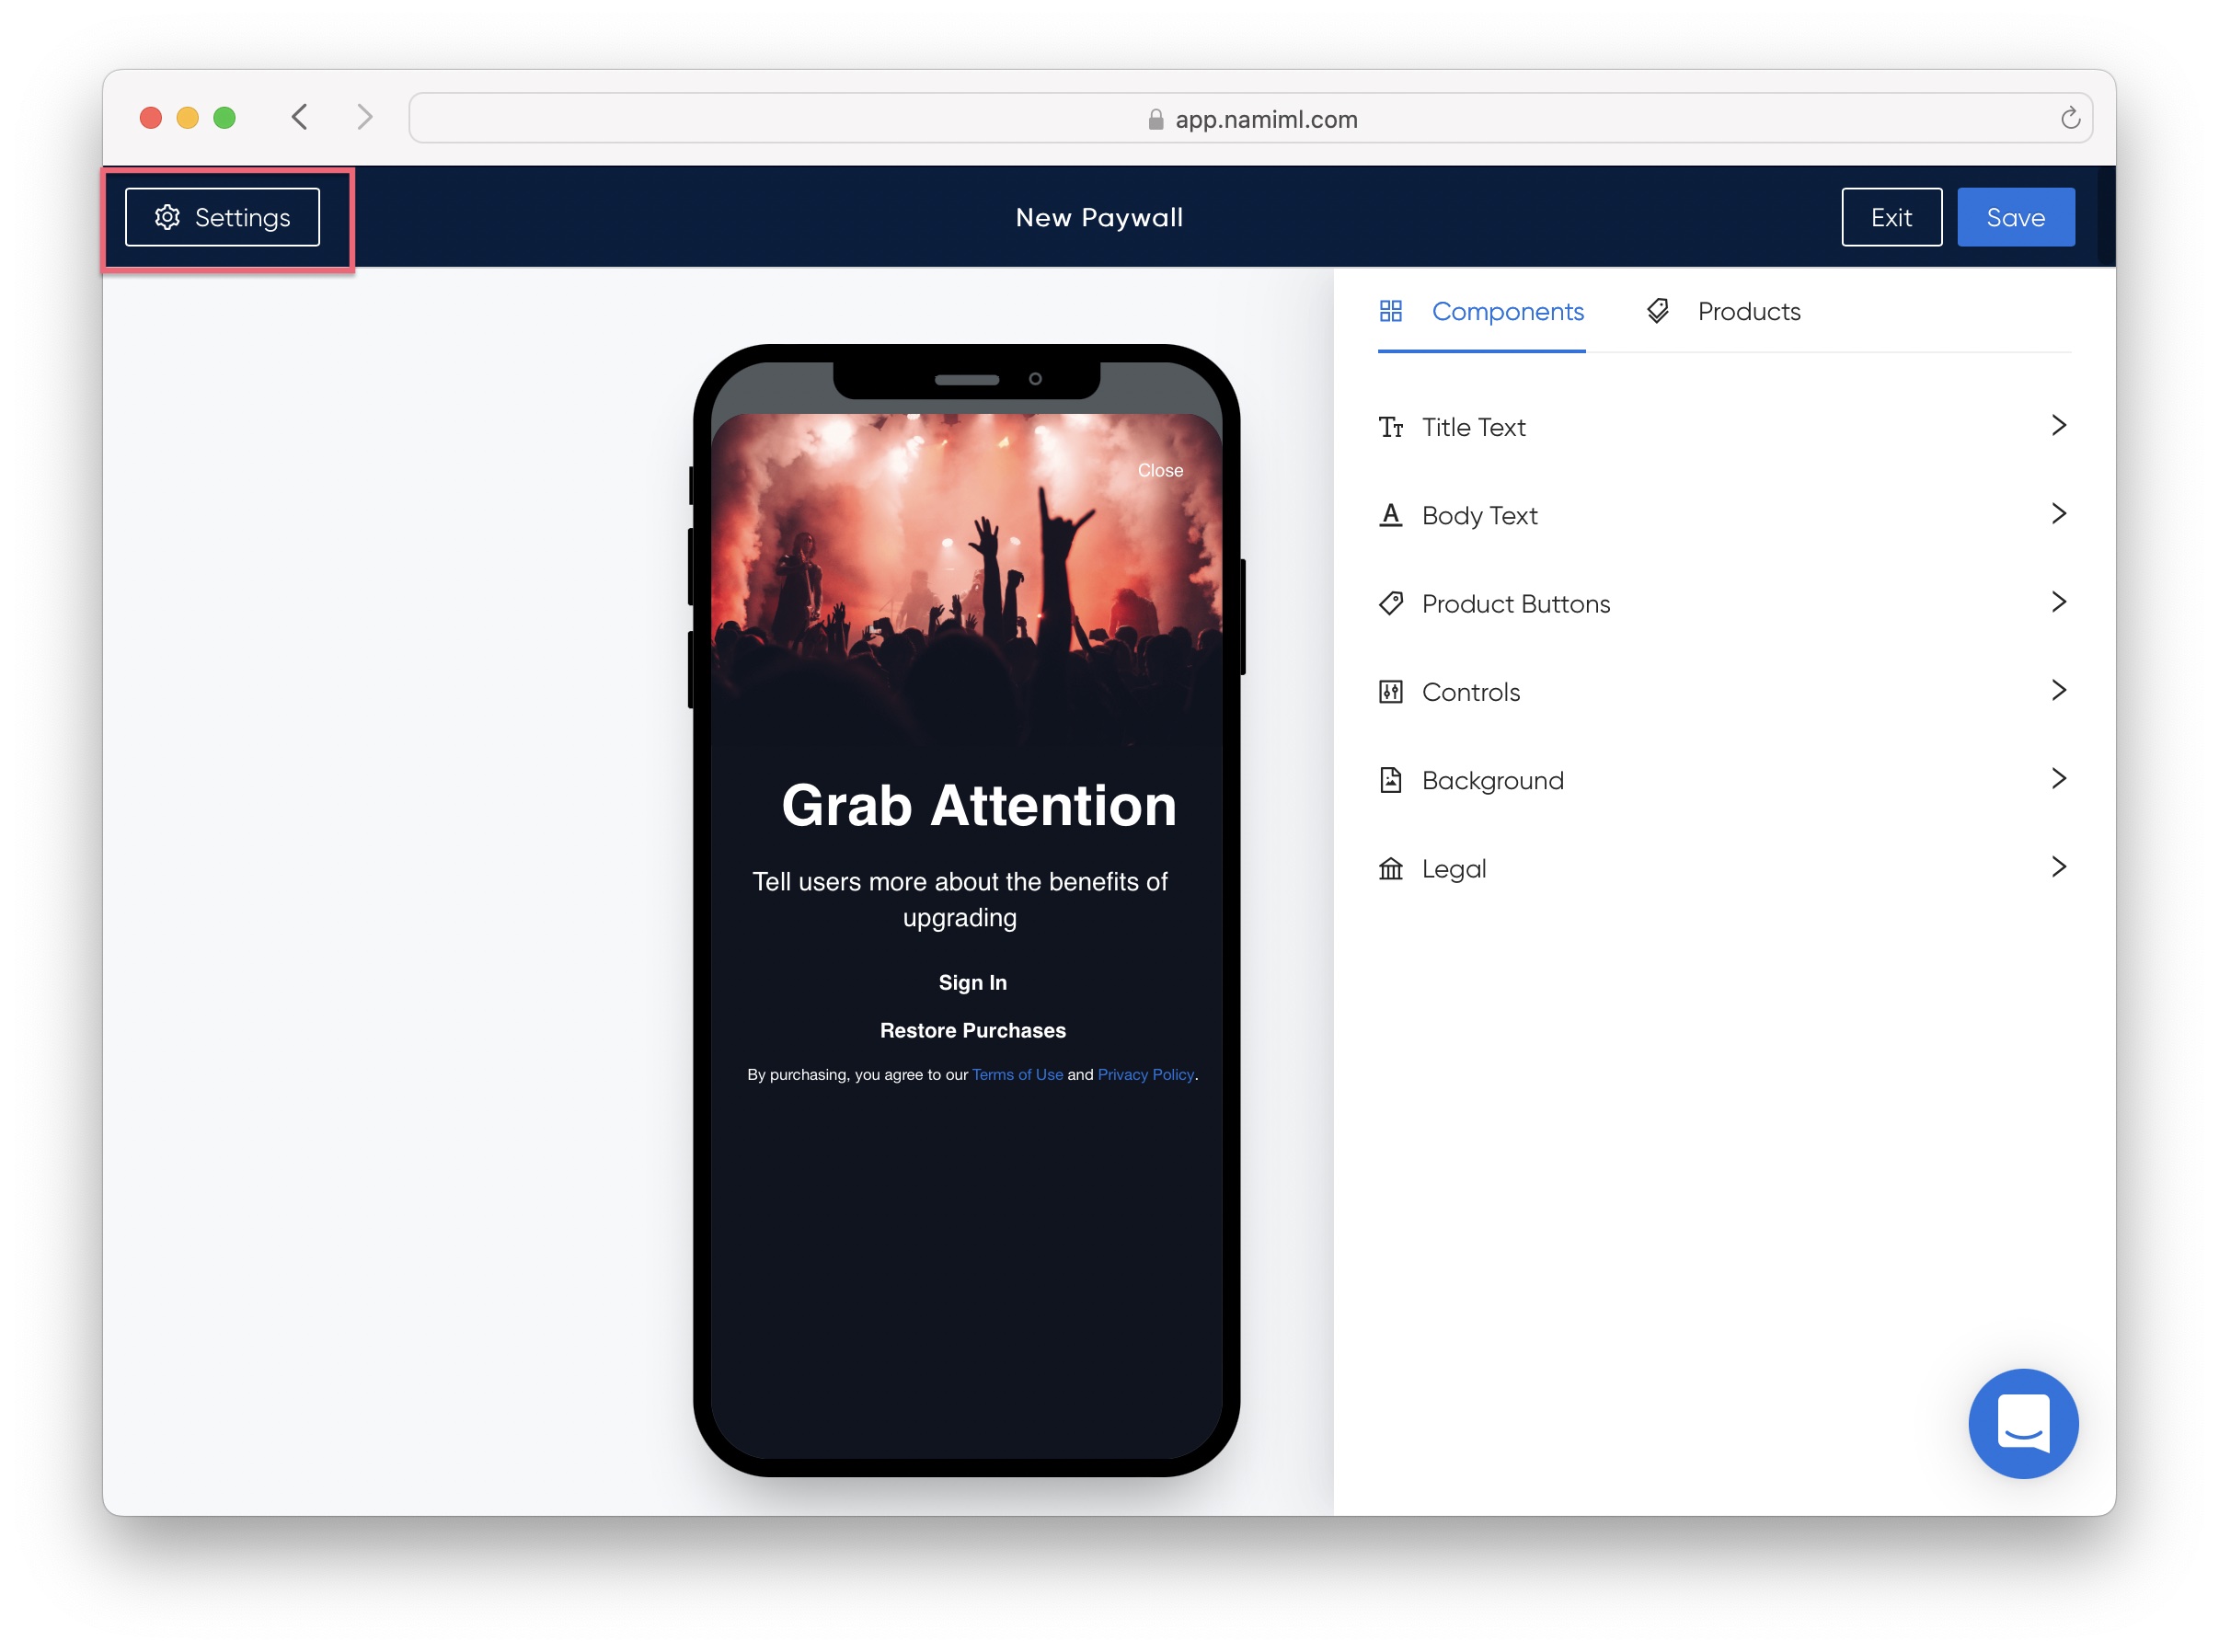
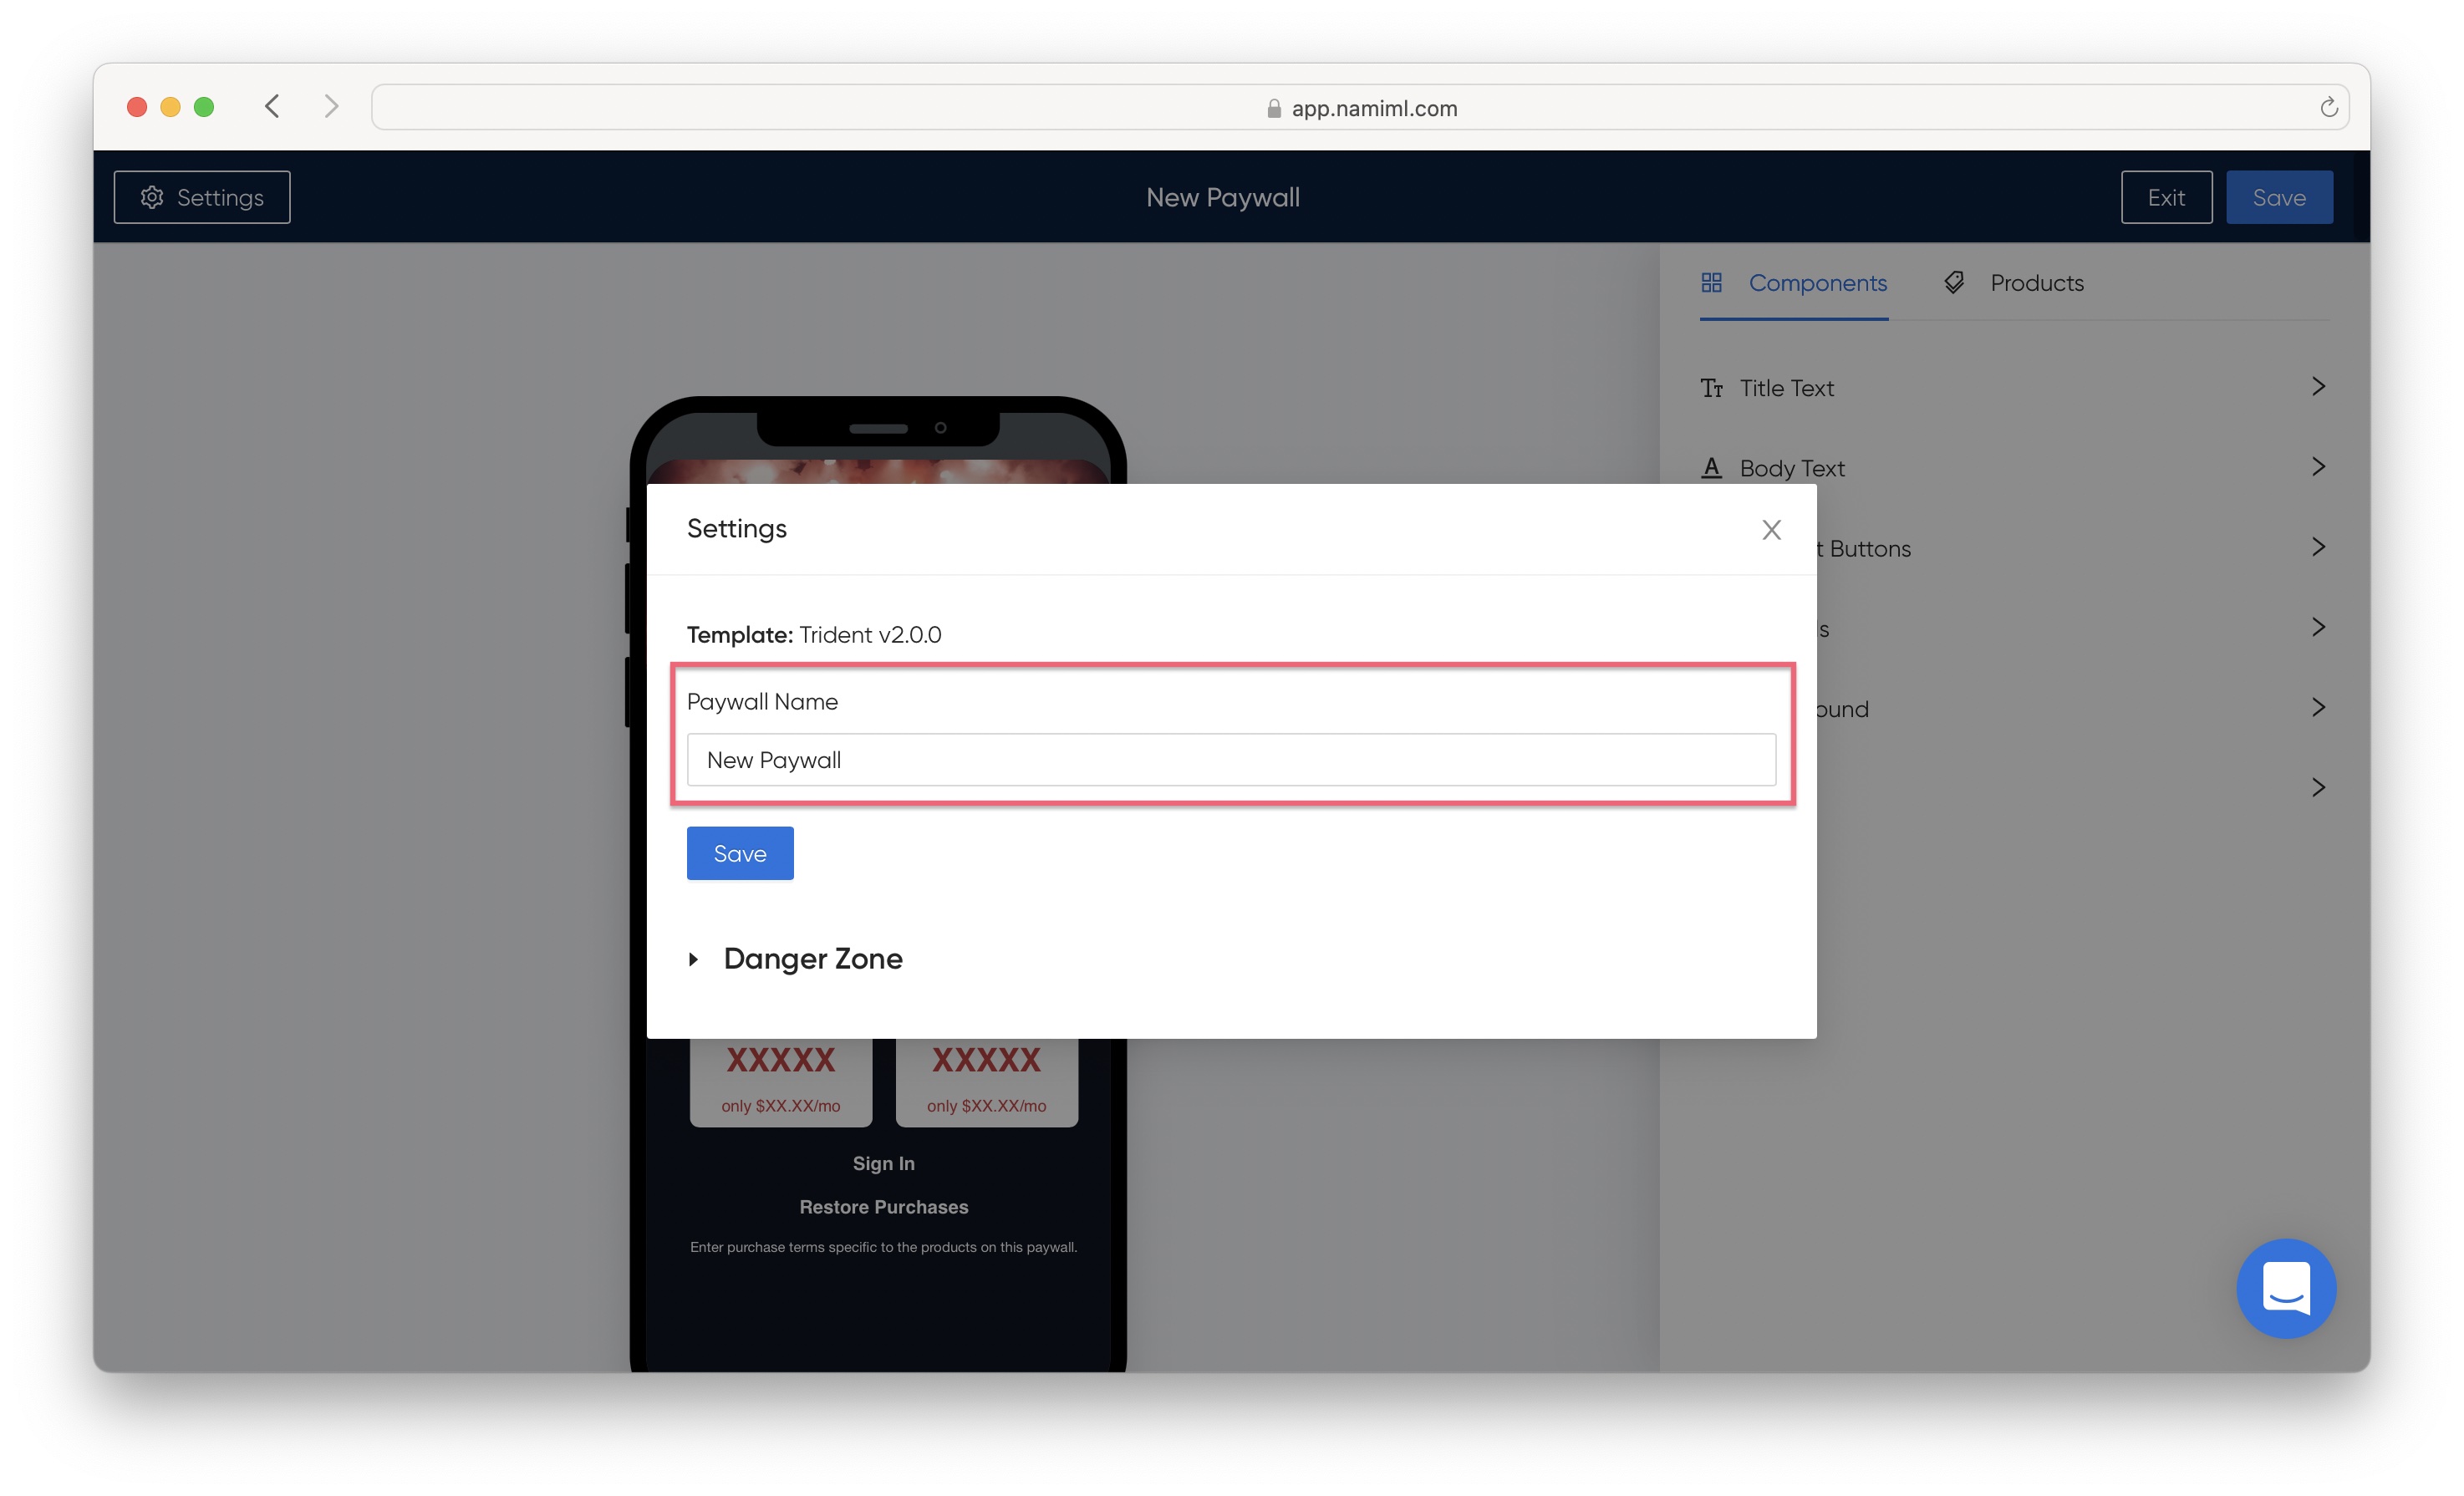
- Click "Settings" in the top lefthand corner to open the Settings modal. Change your paywall's name and click "Save".
The paywall name is used throughout the Nami Control Center to identify your paywall and is not visible to your app's end users.
The Template name is also listed in the Settings modal. Learn more about different templates
- Click Title Text from the Components list. From here, you can edit the Title copy, size, color, and more. All your edits will be reflected live in the previewer to the left.
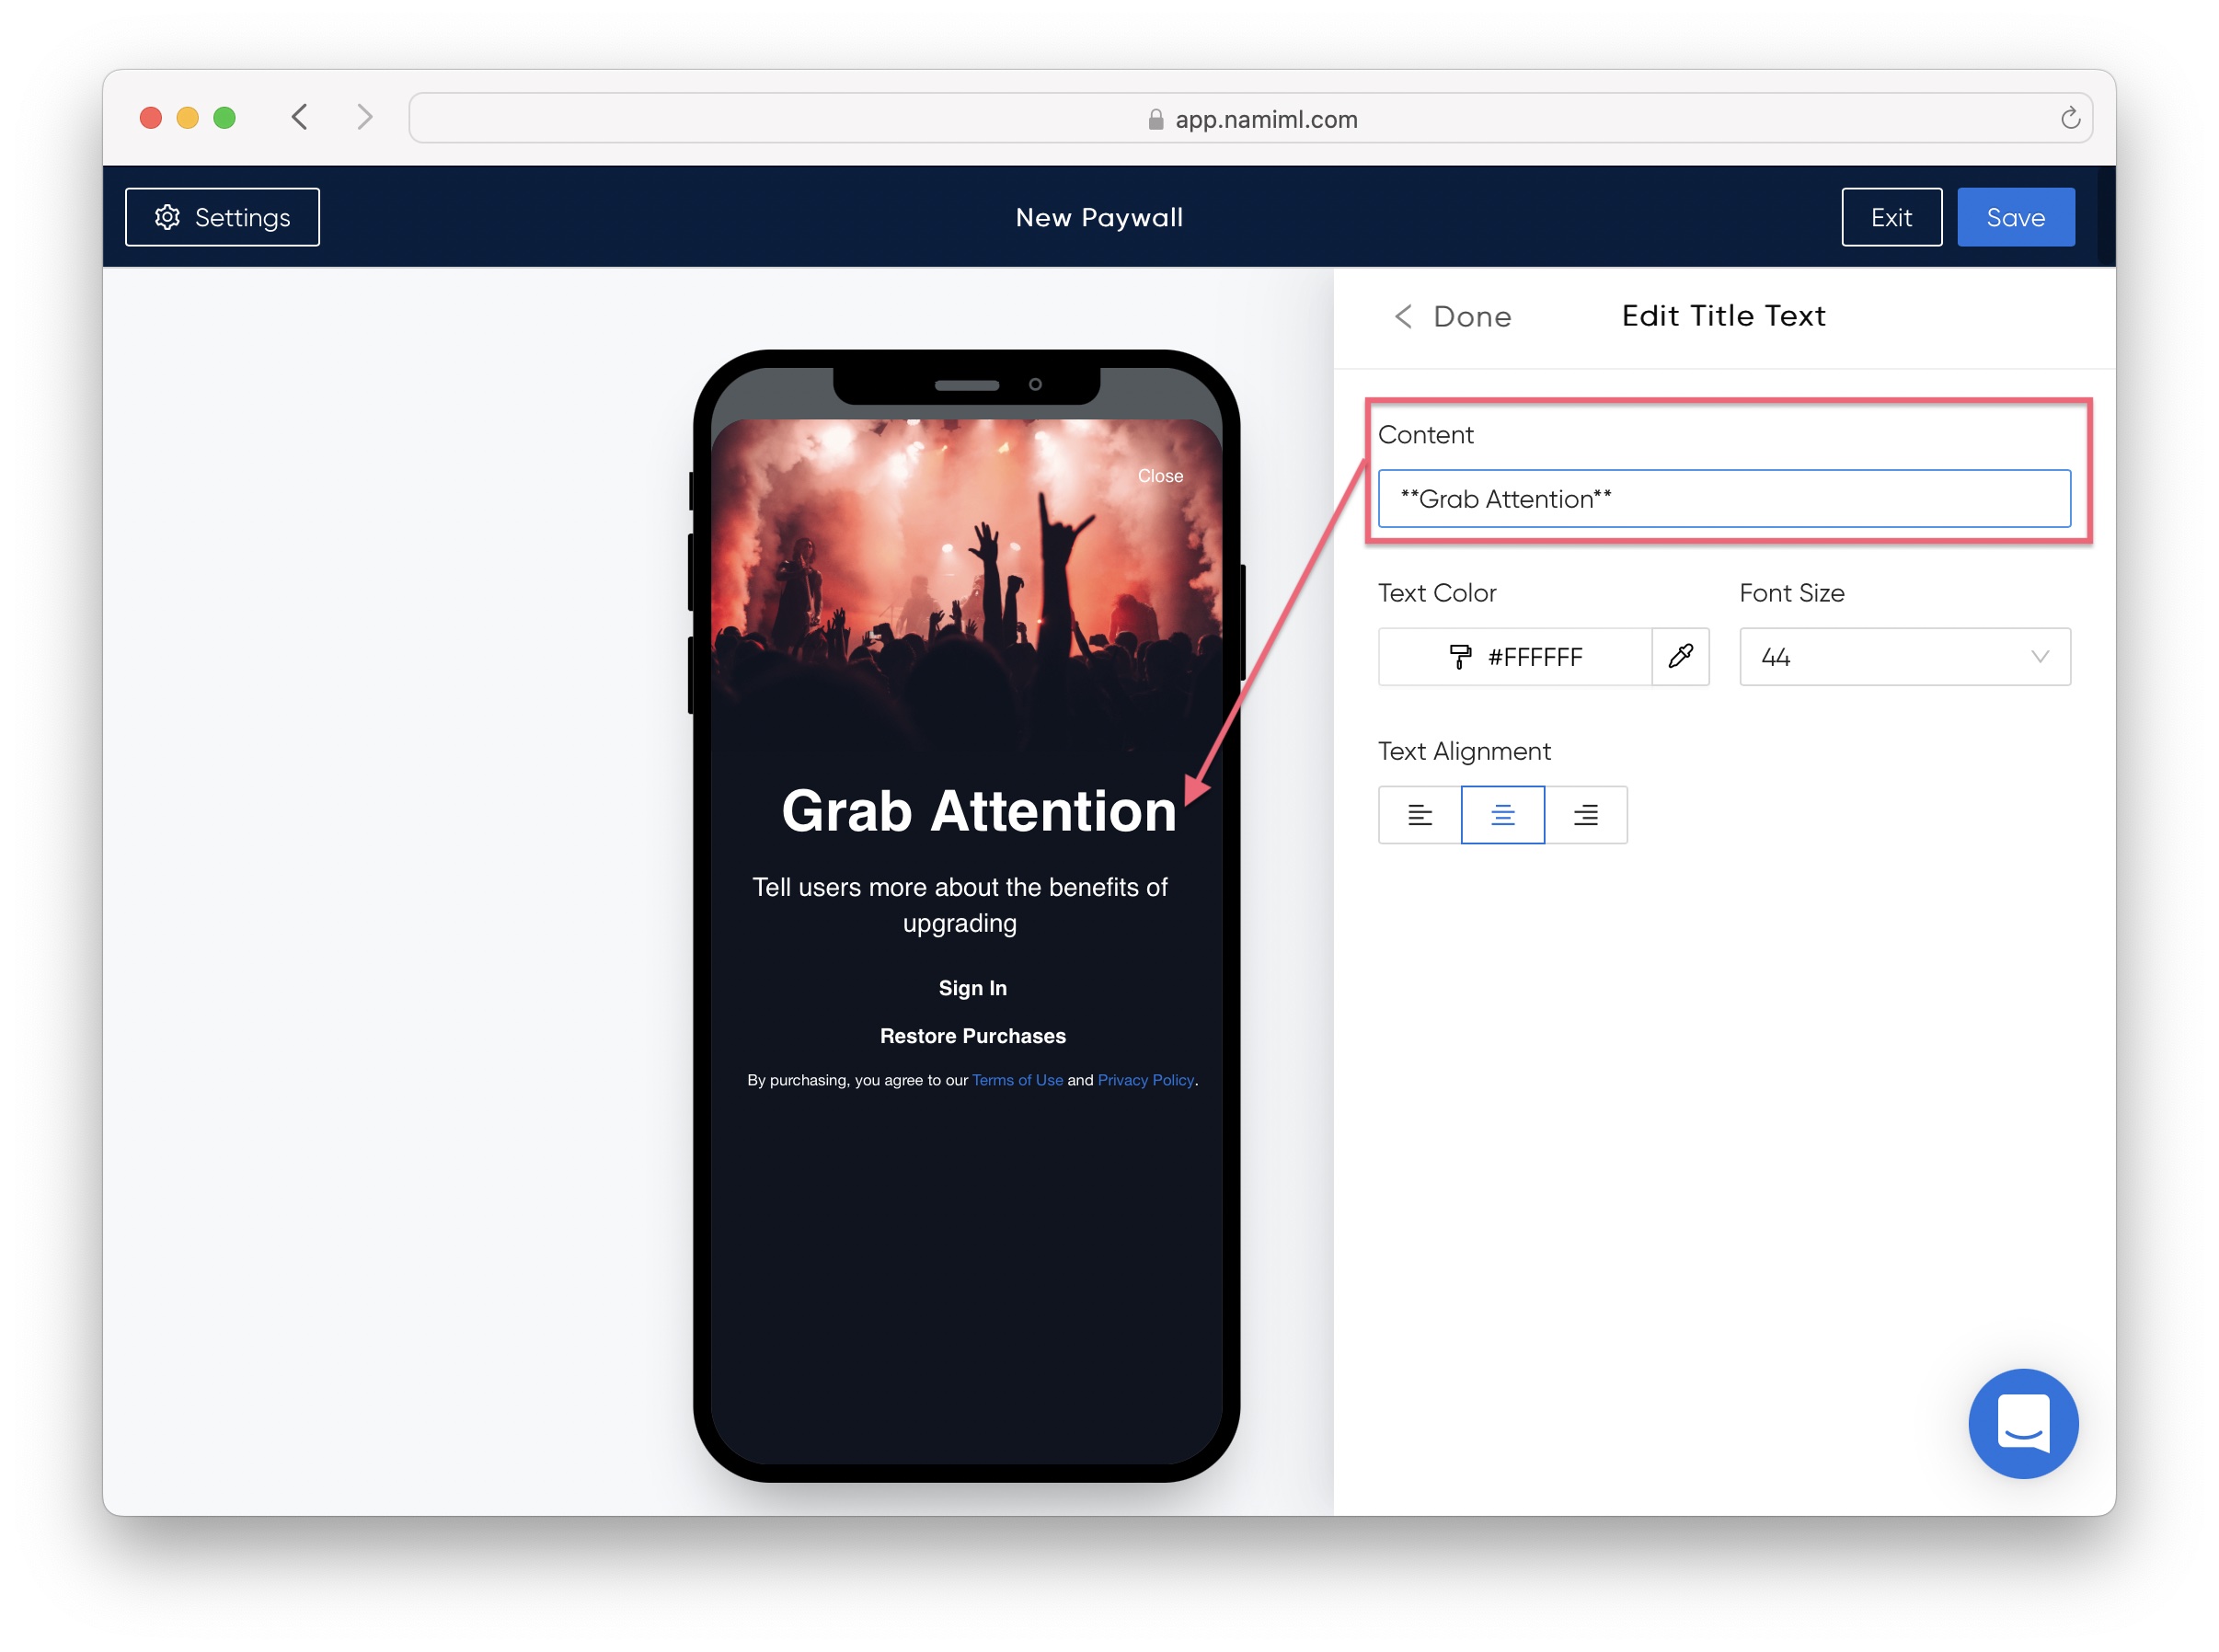
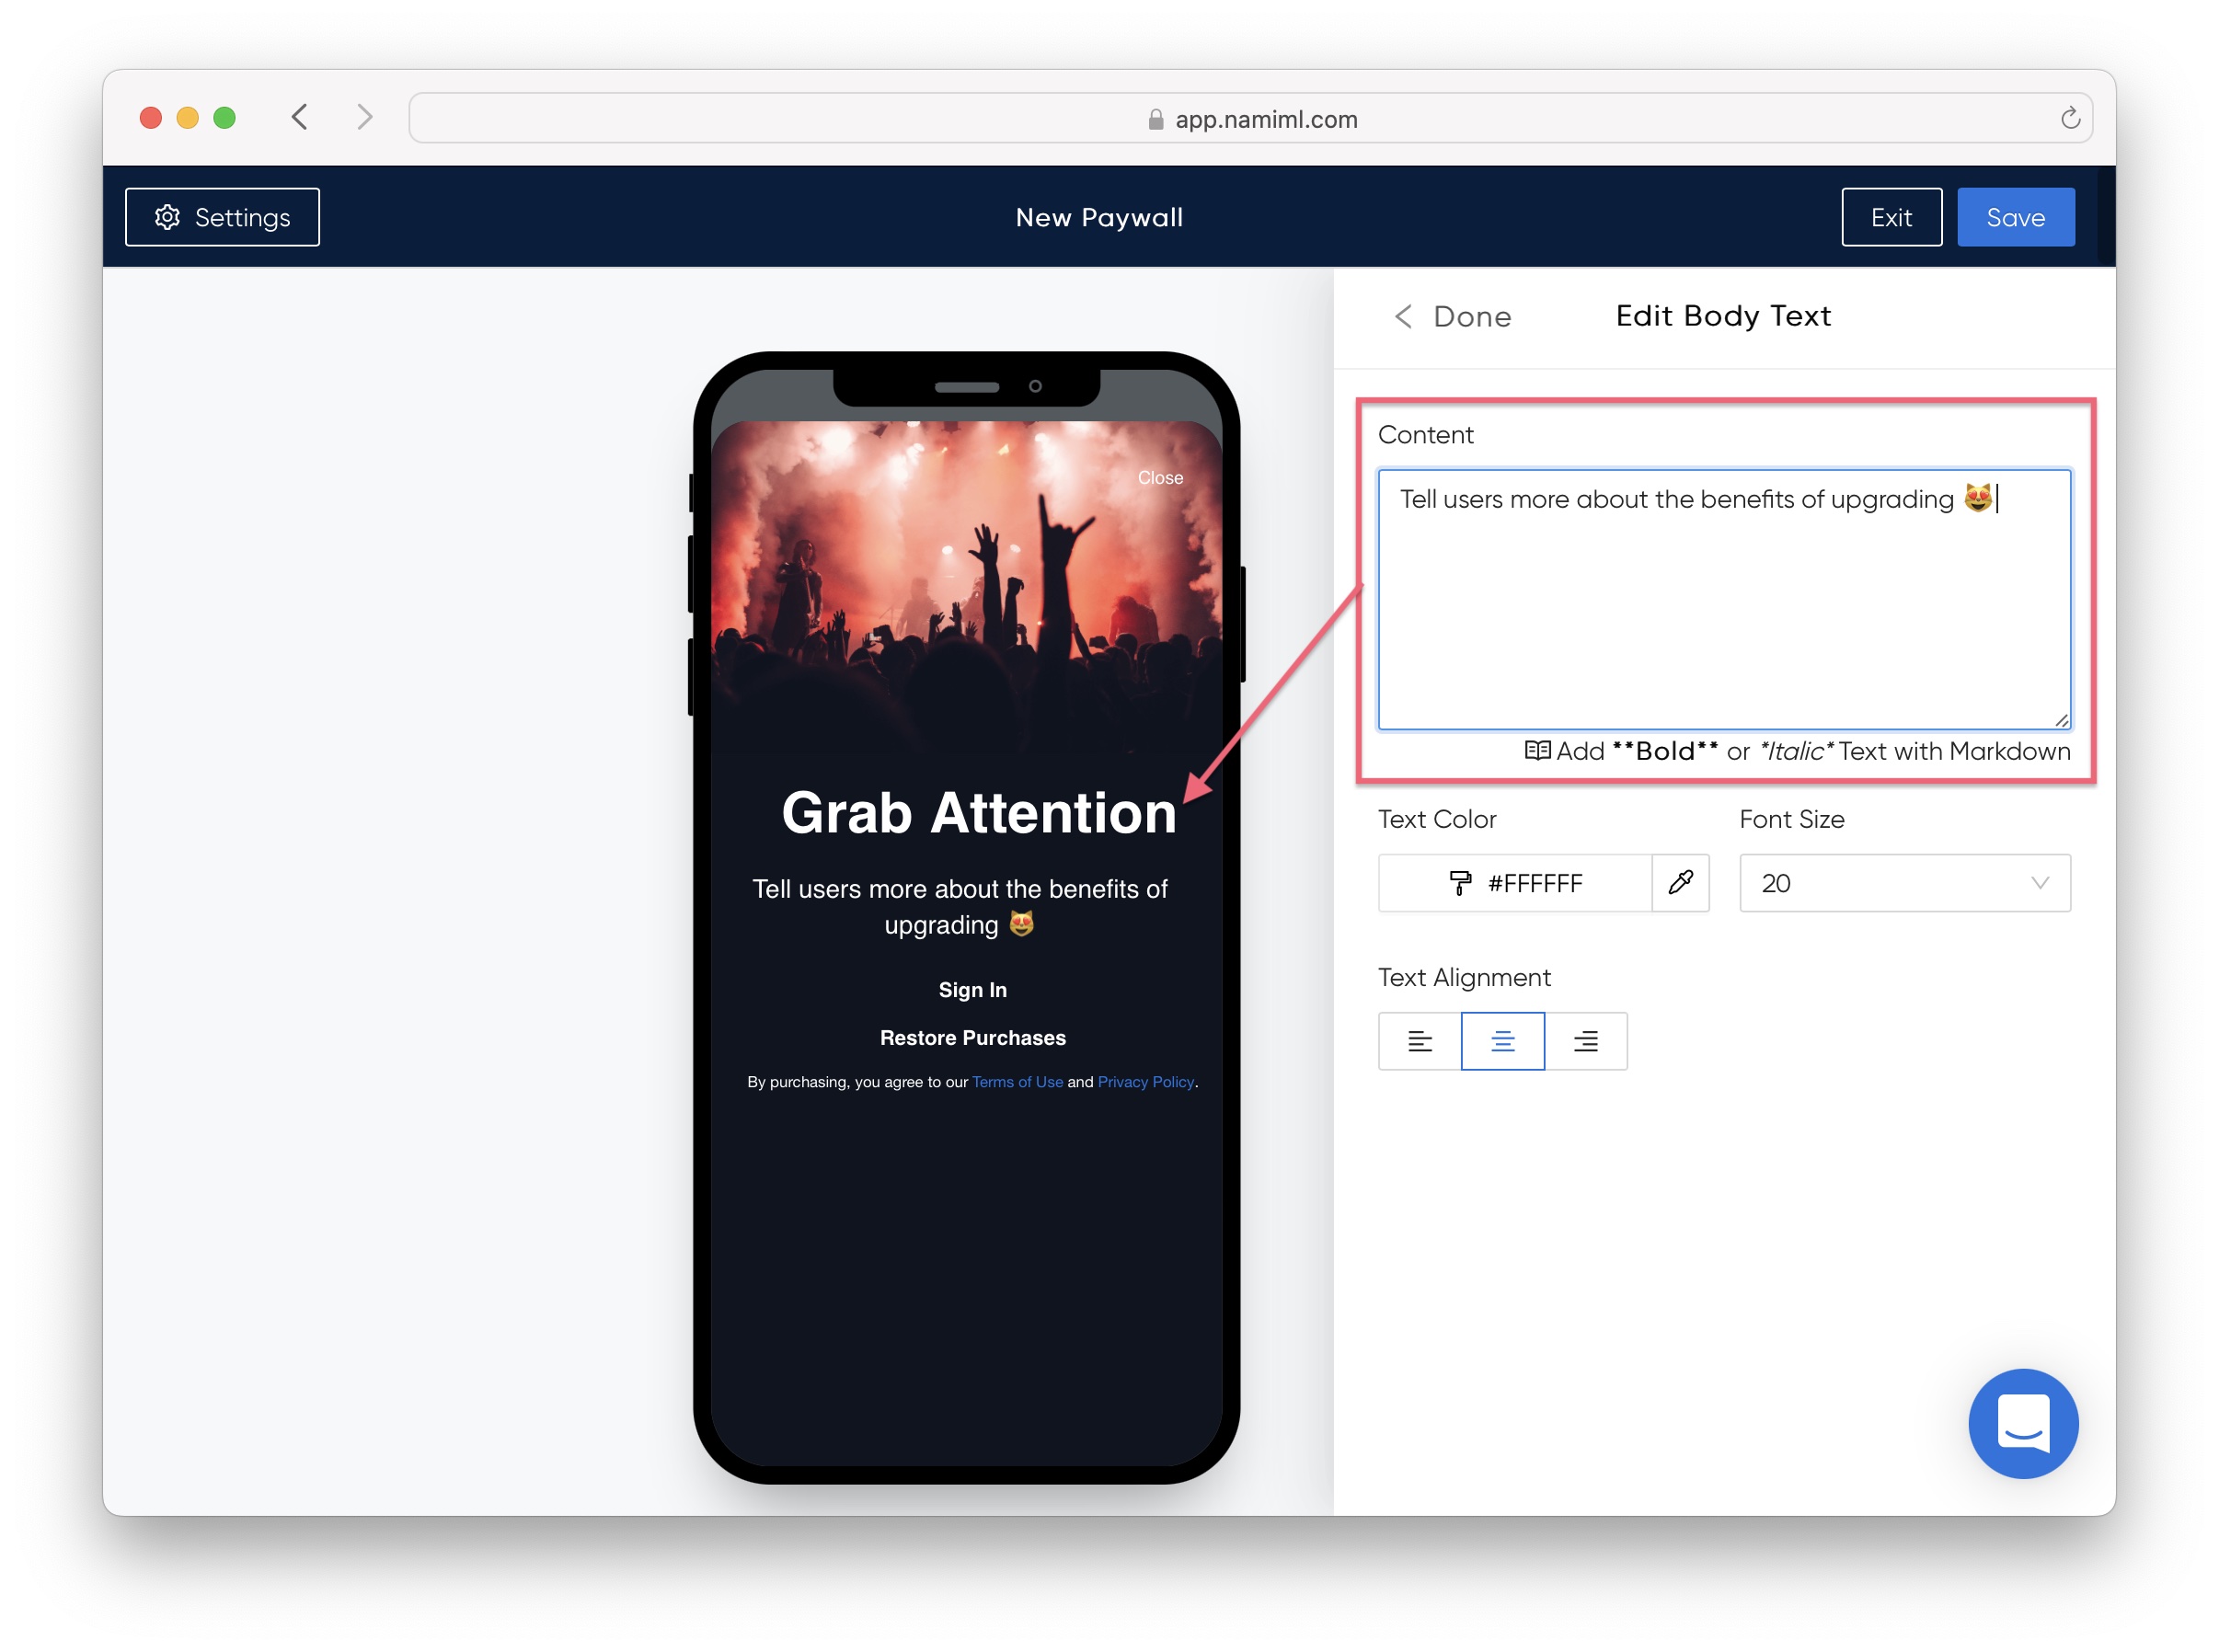
- Click "Done" to navigate back to the Components list and click Body Text.
Edit the body text content, size, and more. Emojis are supported! 🎉
Limited markdown is supported. Learn more.
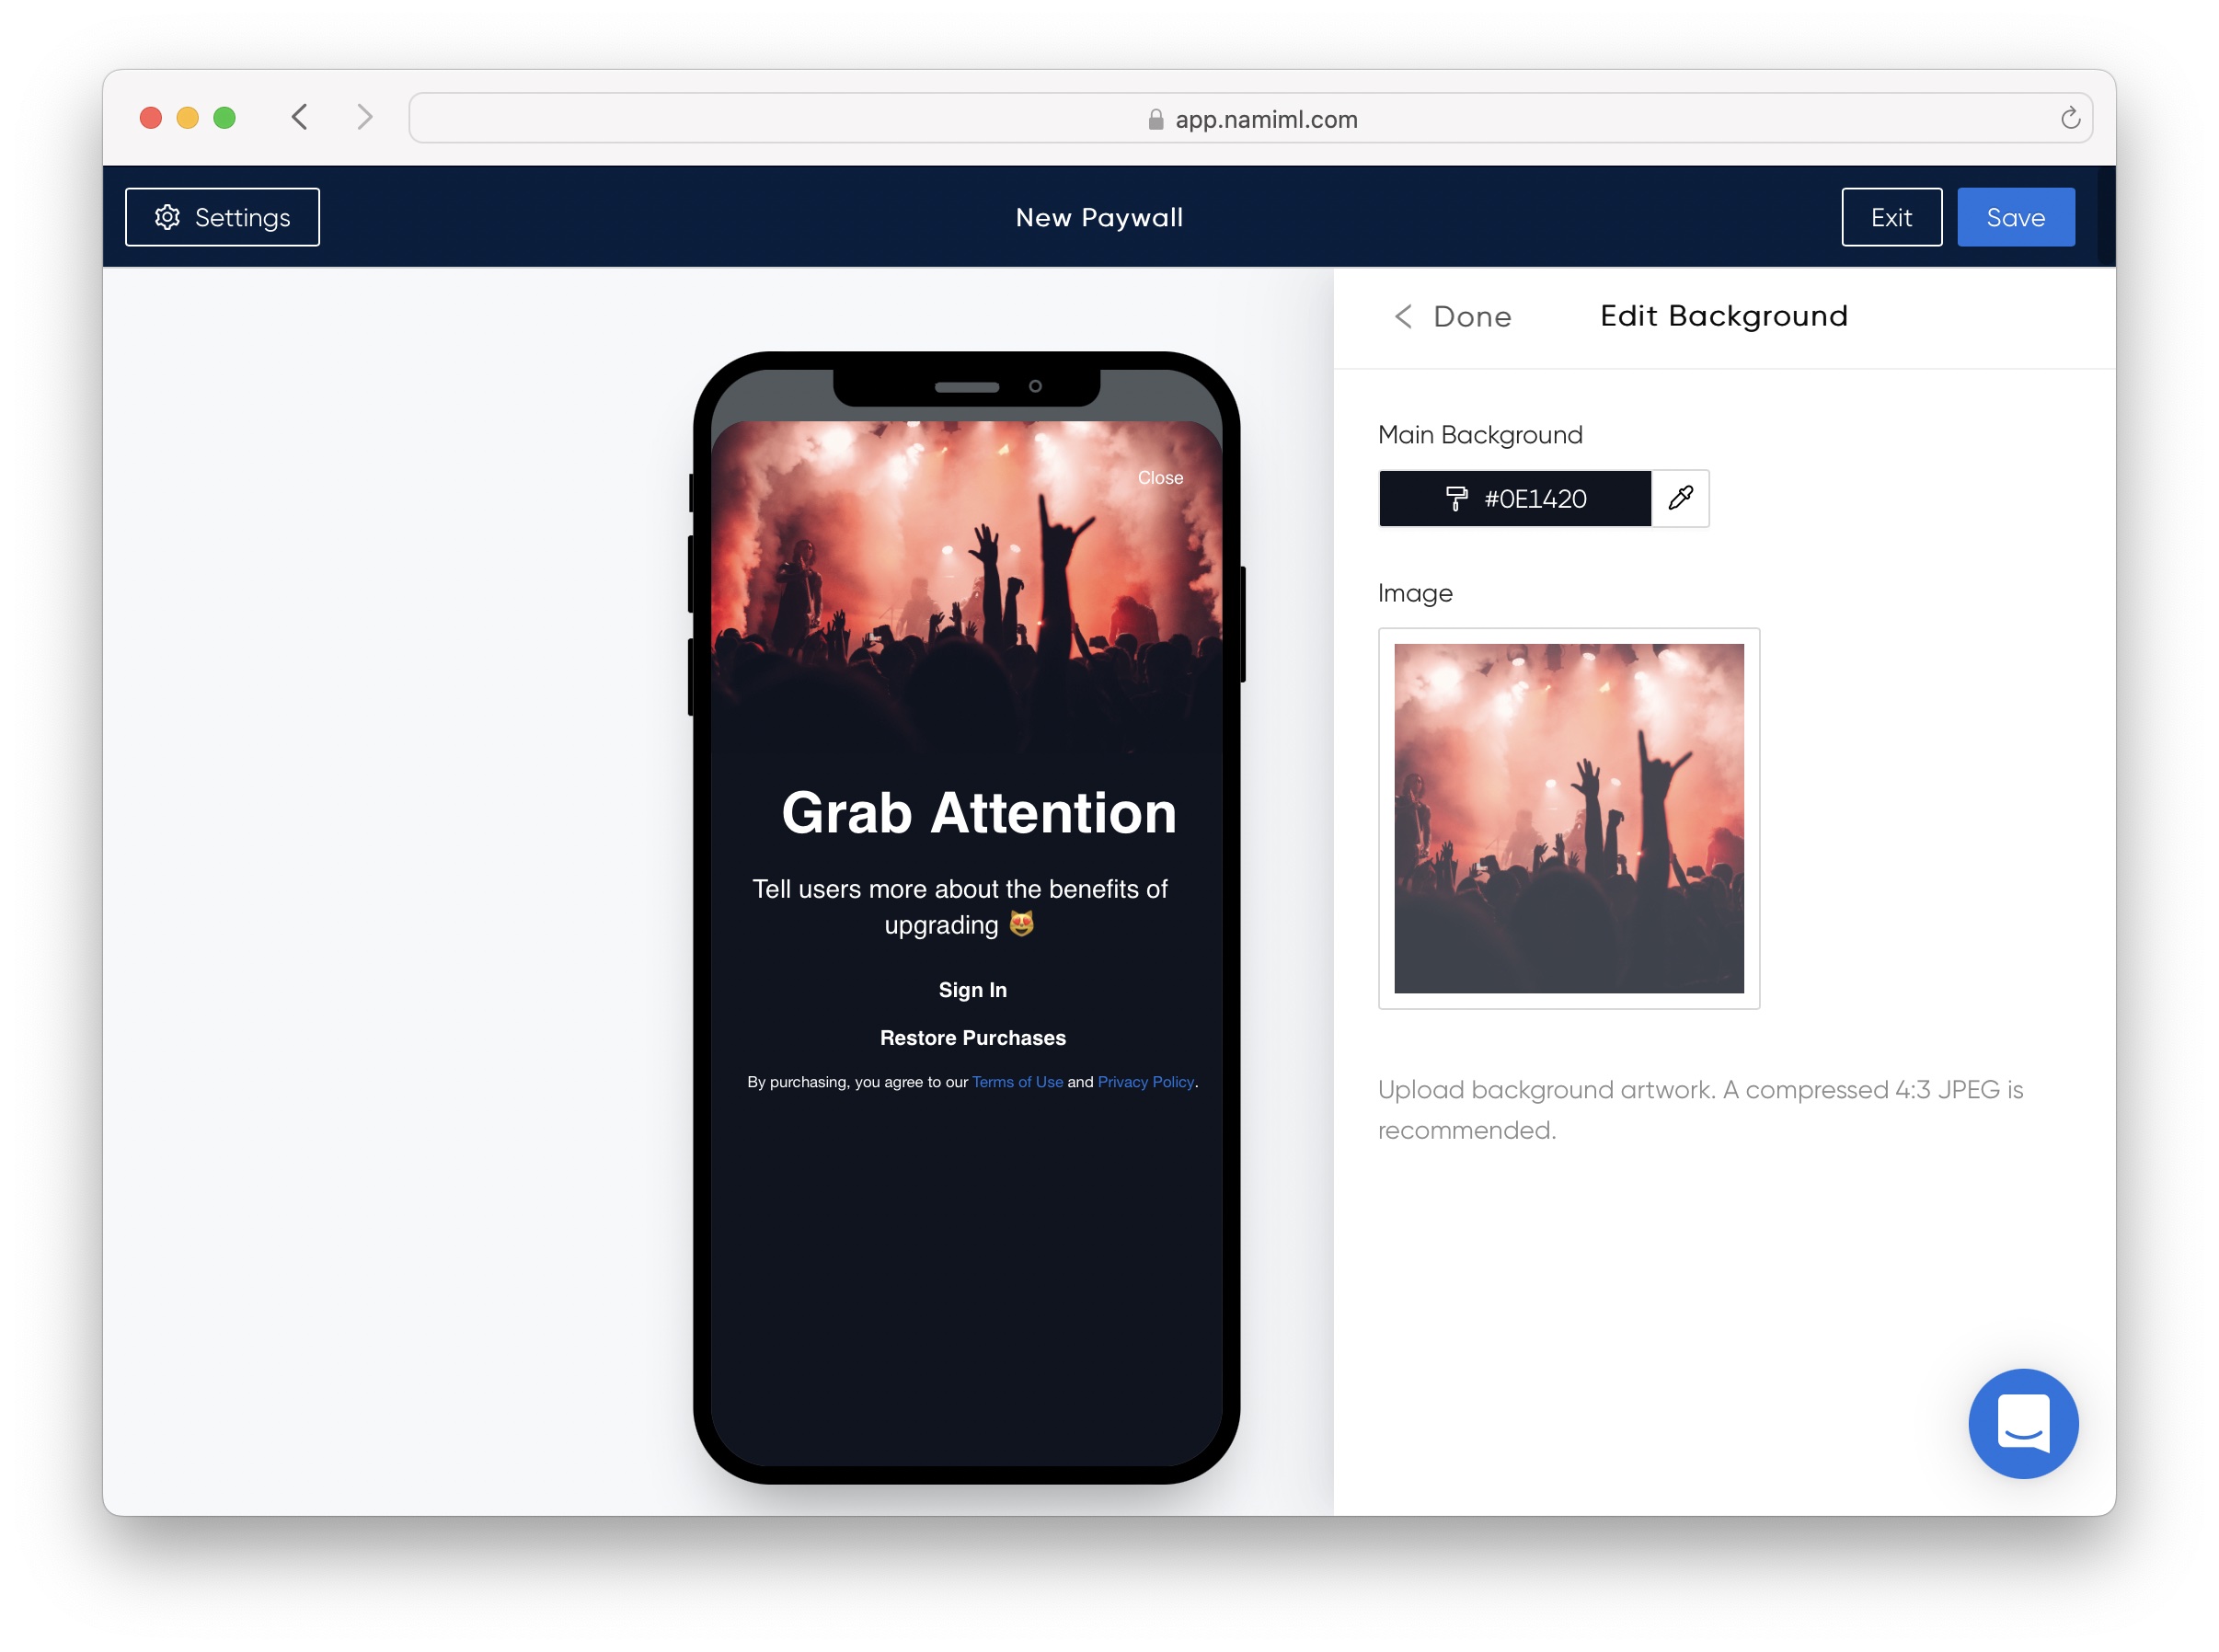
- Click into the Background component to change the paywall header image and background color.
Learn more about working with paywall images
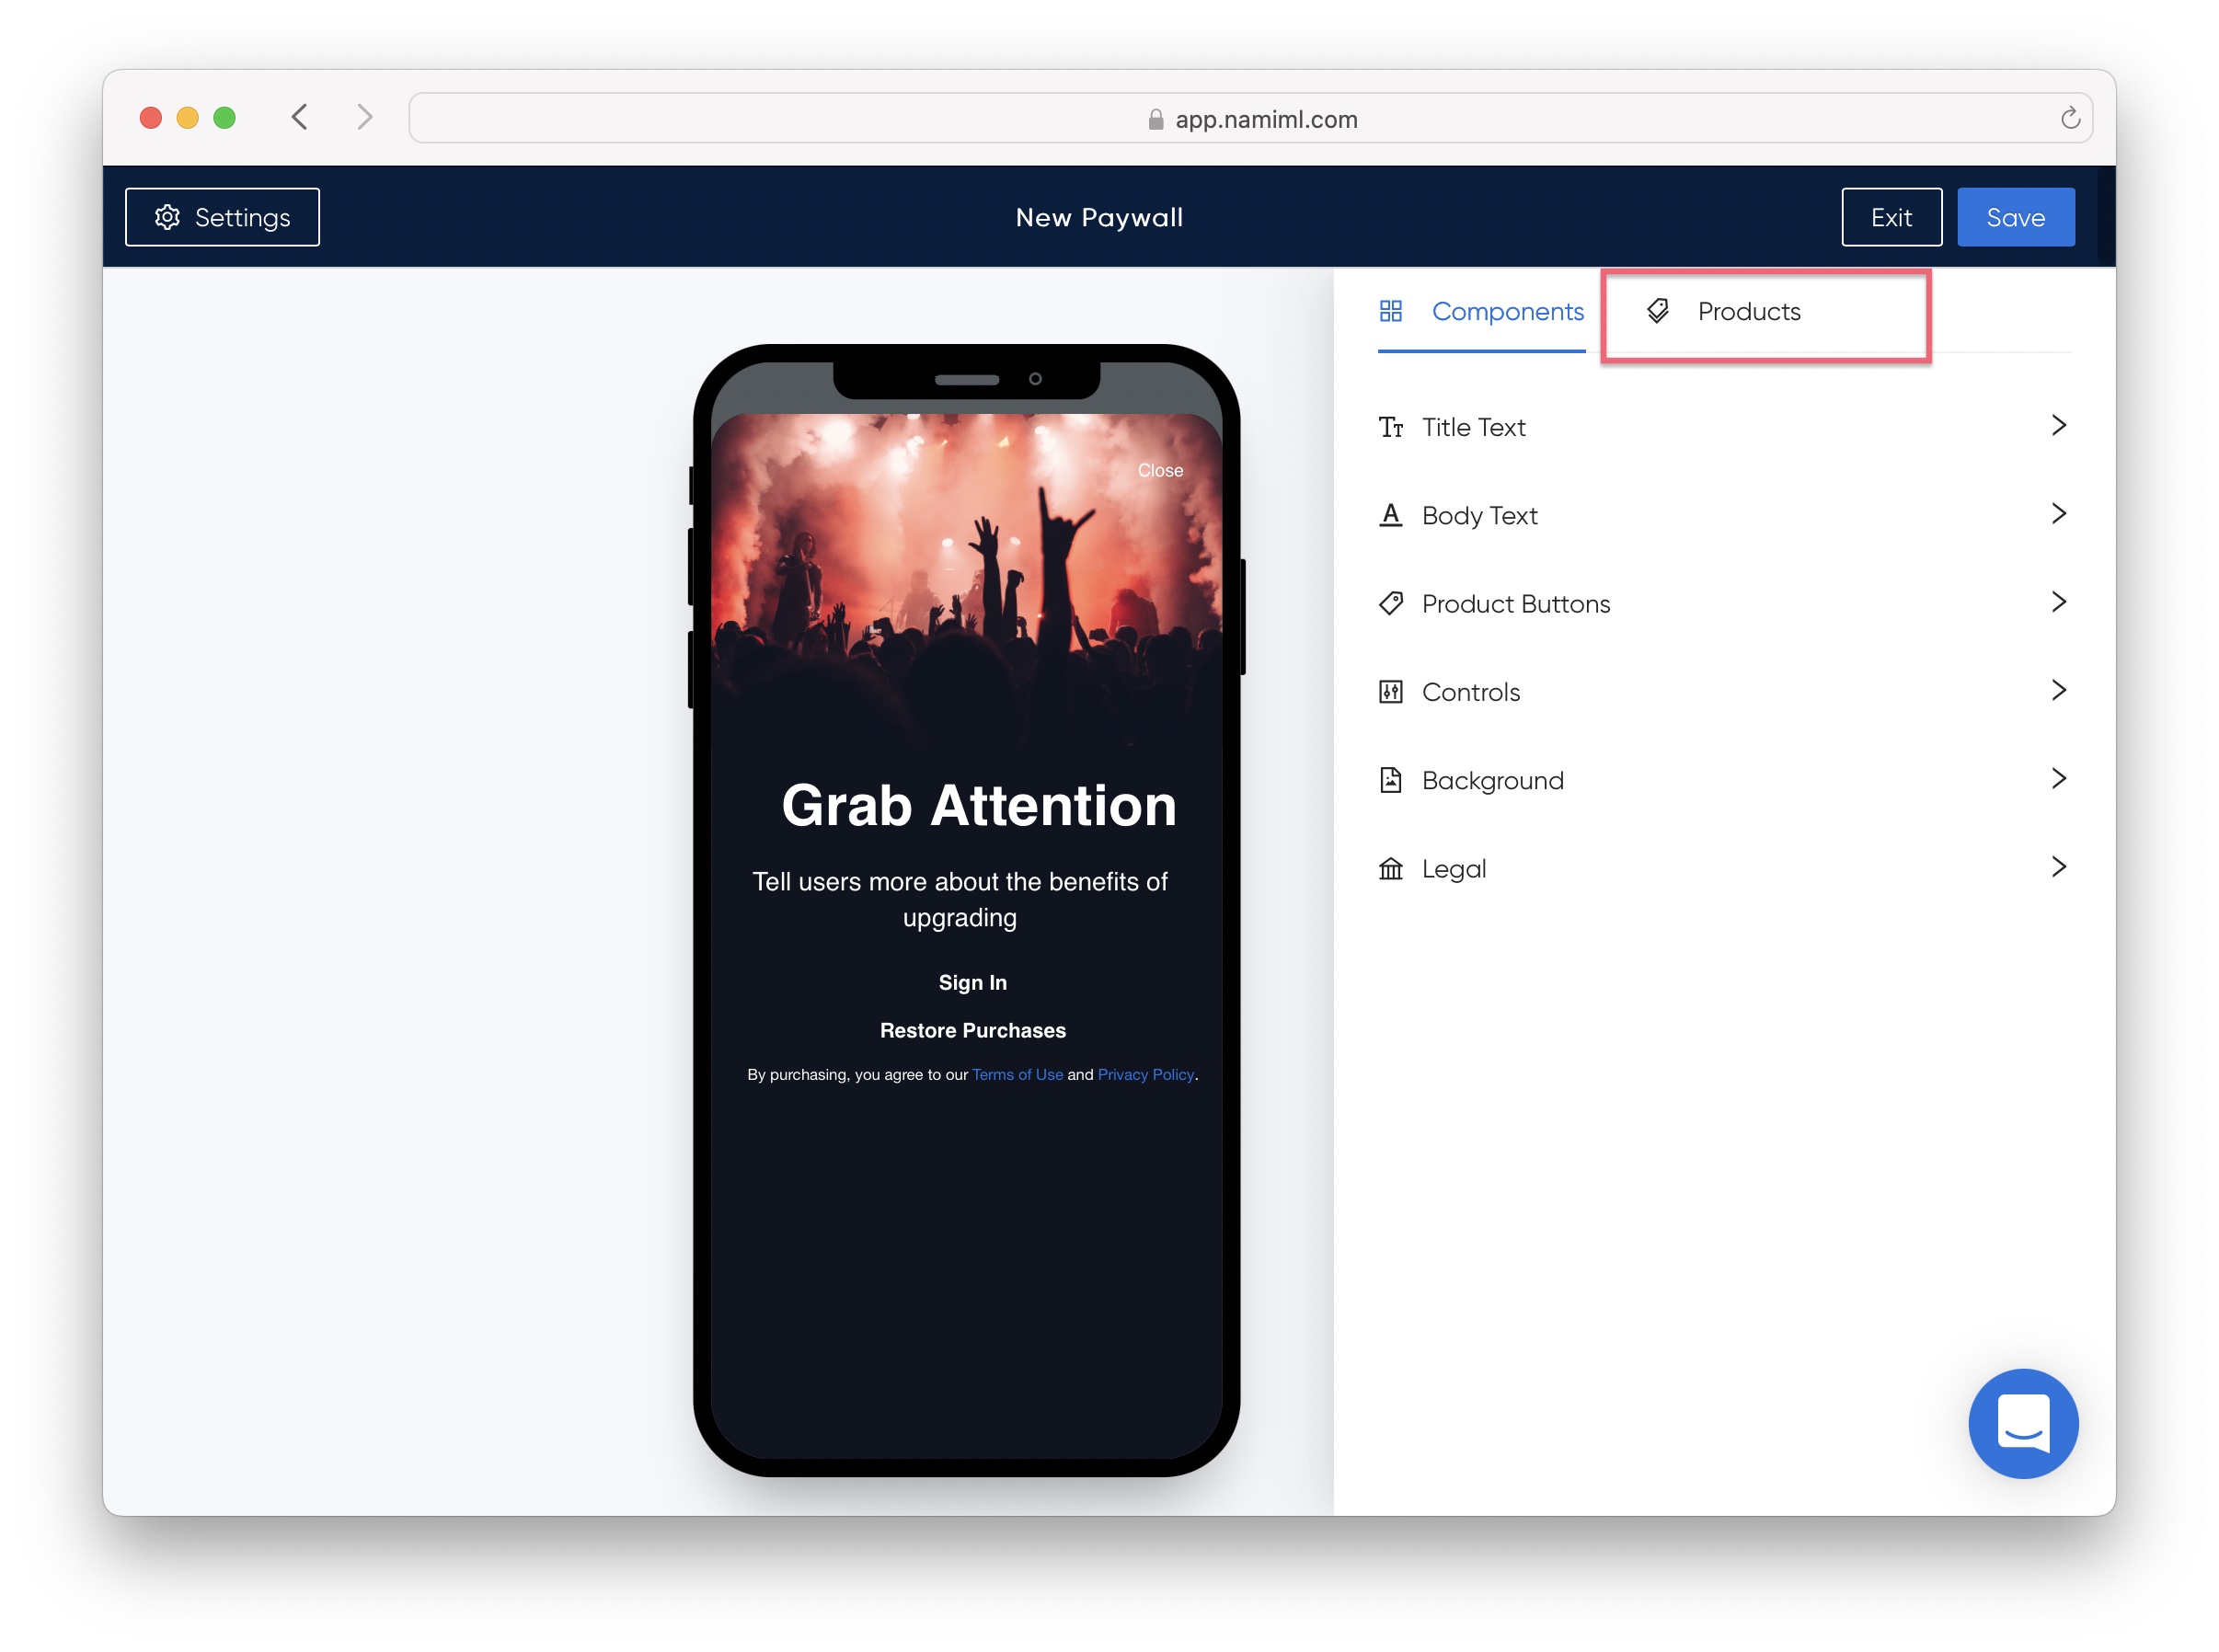
- Click the Products tab to add products to your paywall
Adding In-App Purchase Products to a Paywall
In order to add Product SKUs to a Paywall, you will need to complete the following steps.
Until you complete these steps, you may not see any in-app purchase products that can be added to your paywall.
Follow the links to each of the guides to complete these steps.
Select an App Platform from the dropdown.
The Available Products list will populate with the Product SKUs for that platform.
Add products from Available Products to Added Products to display on your paywall. Re-order the products within Available Products to control the order in which they appear on your paywall.
Select Product SKUs for each App Platform that this paywall is going to run on.
On each App Platform your app runs on, your users will only see the product SKUs for that specific platform.
Some paywalls only support a maximum number of products. This number will be called out below Added Products, such as 'This template supports 2 products'. If you already have 2 products in Added Products and try to add another, you won't be able to until you remove a product.
Click "Save" to save your changes.
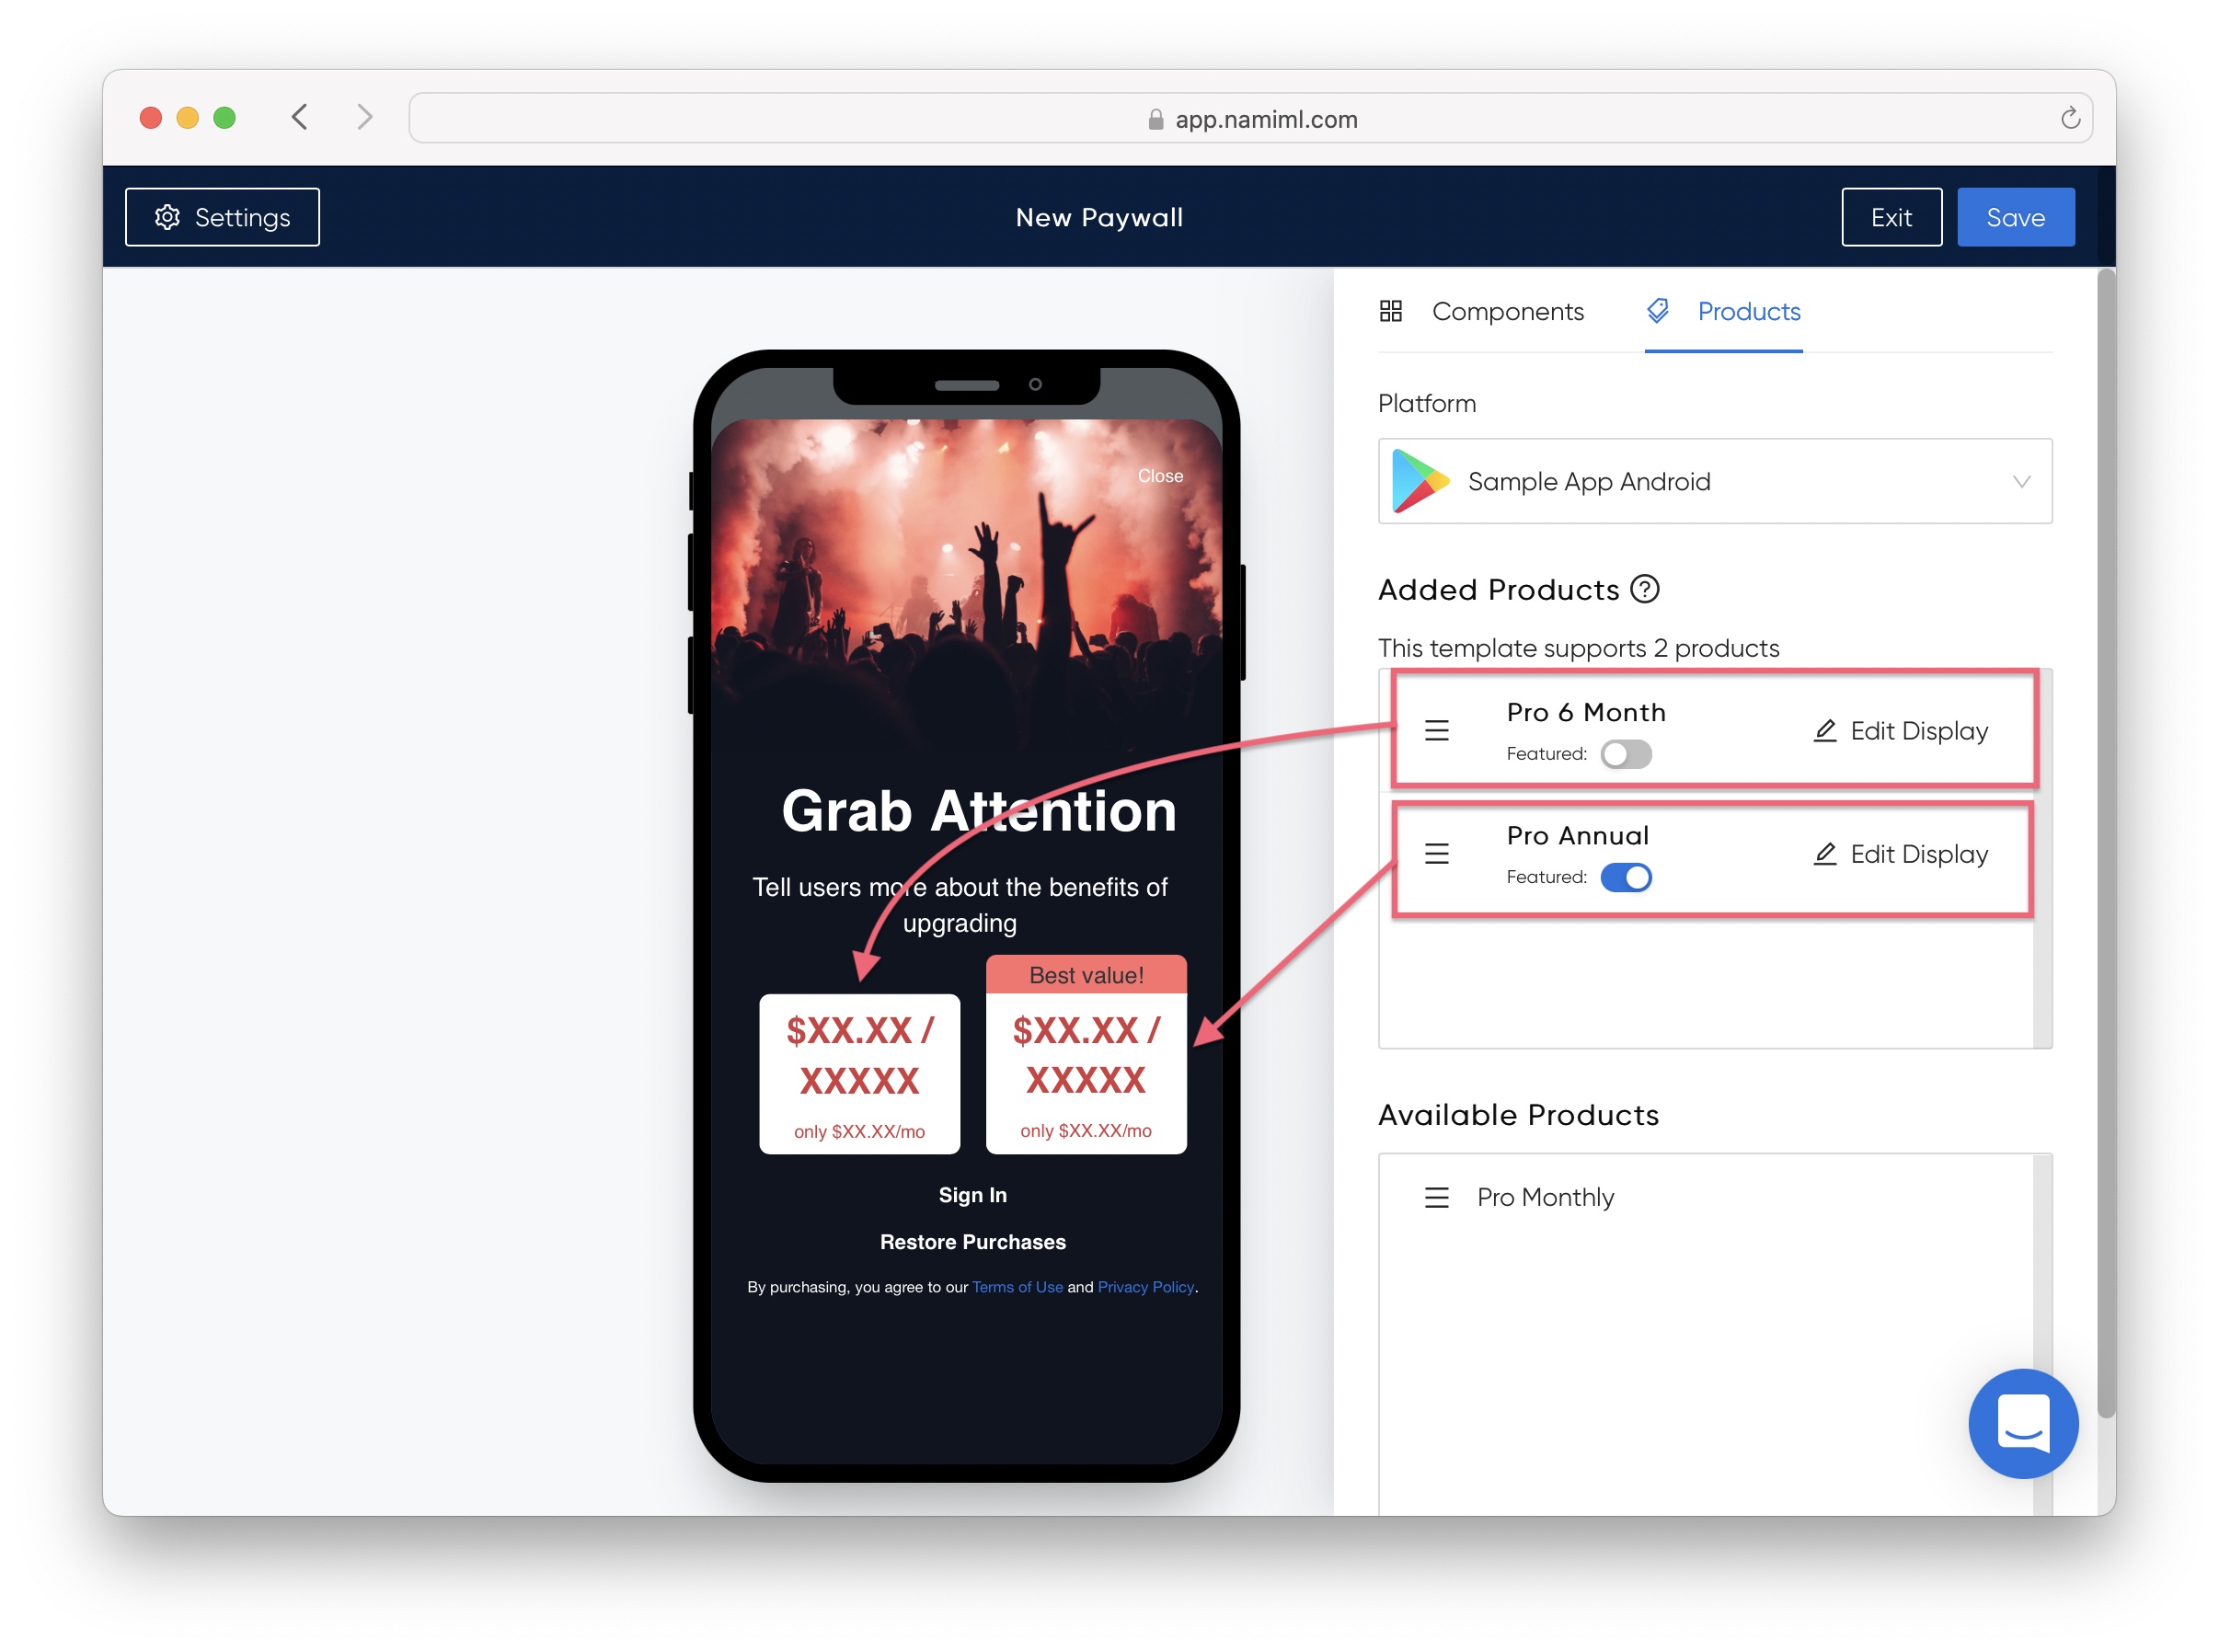
Why does the previewer show "XXXX" on my products?
The paywall previewer shows the Product Display Text for each product SKU instead of pricing information. This is because the preview is not running on a device. When you view your paywall on an actual device, you will see pricing details provided the products are approved for sale by the app marketplace.
Edit the Product Display Text by clicking 'Edit Display' next to each Added Product. Smart Text variables are used as placeholders for product values such as price and duration.
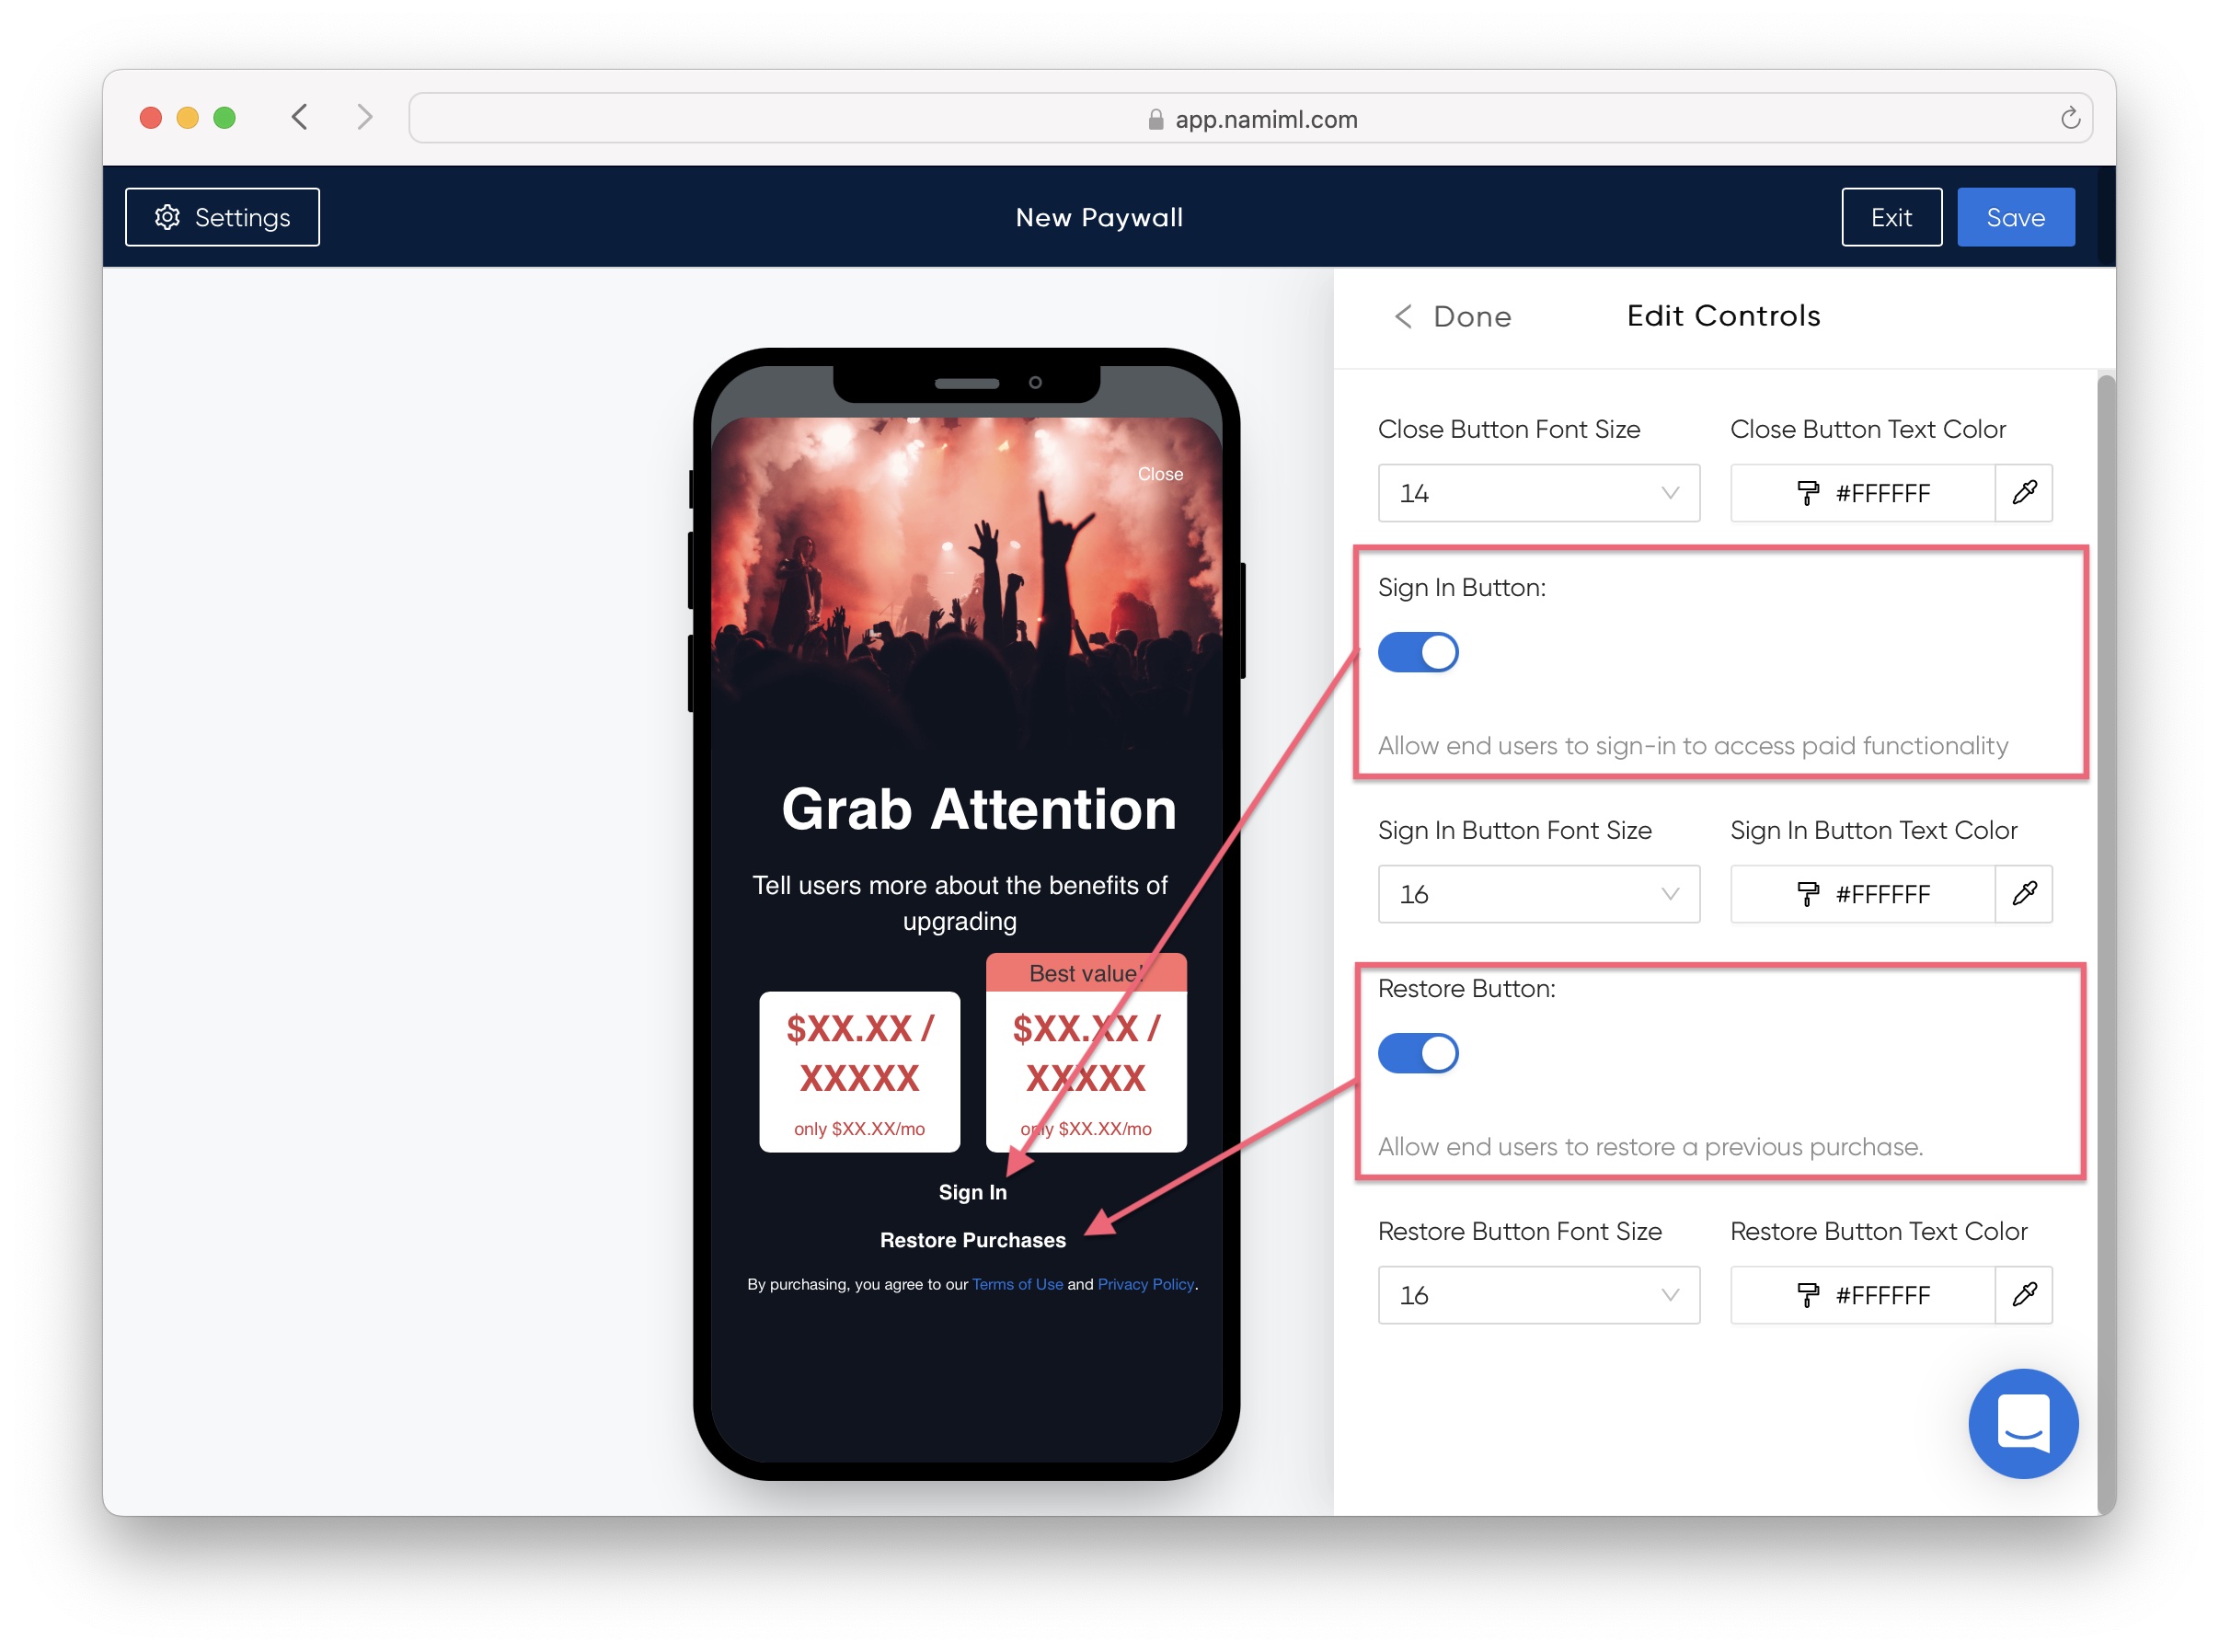
- Navigate to the Controls Component. Select the controls you want enabled, then click "Save" to save your changes.
Nami Paywalls can support showing/hiding the following controls:
-
Sign In
This paywall allows end users to sign-in to access paid functionality. -
Restore
This paywall allows end users to restore a previous purchase.
Restore & App Review
Apple App Store apps must offer Restore functionality. It's strongly suggested that Restore be set to on, otherwise your app risks being rejected in app review.
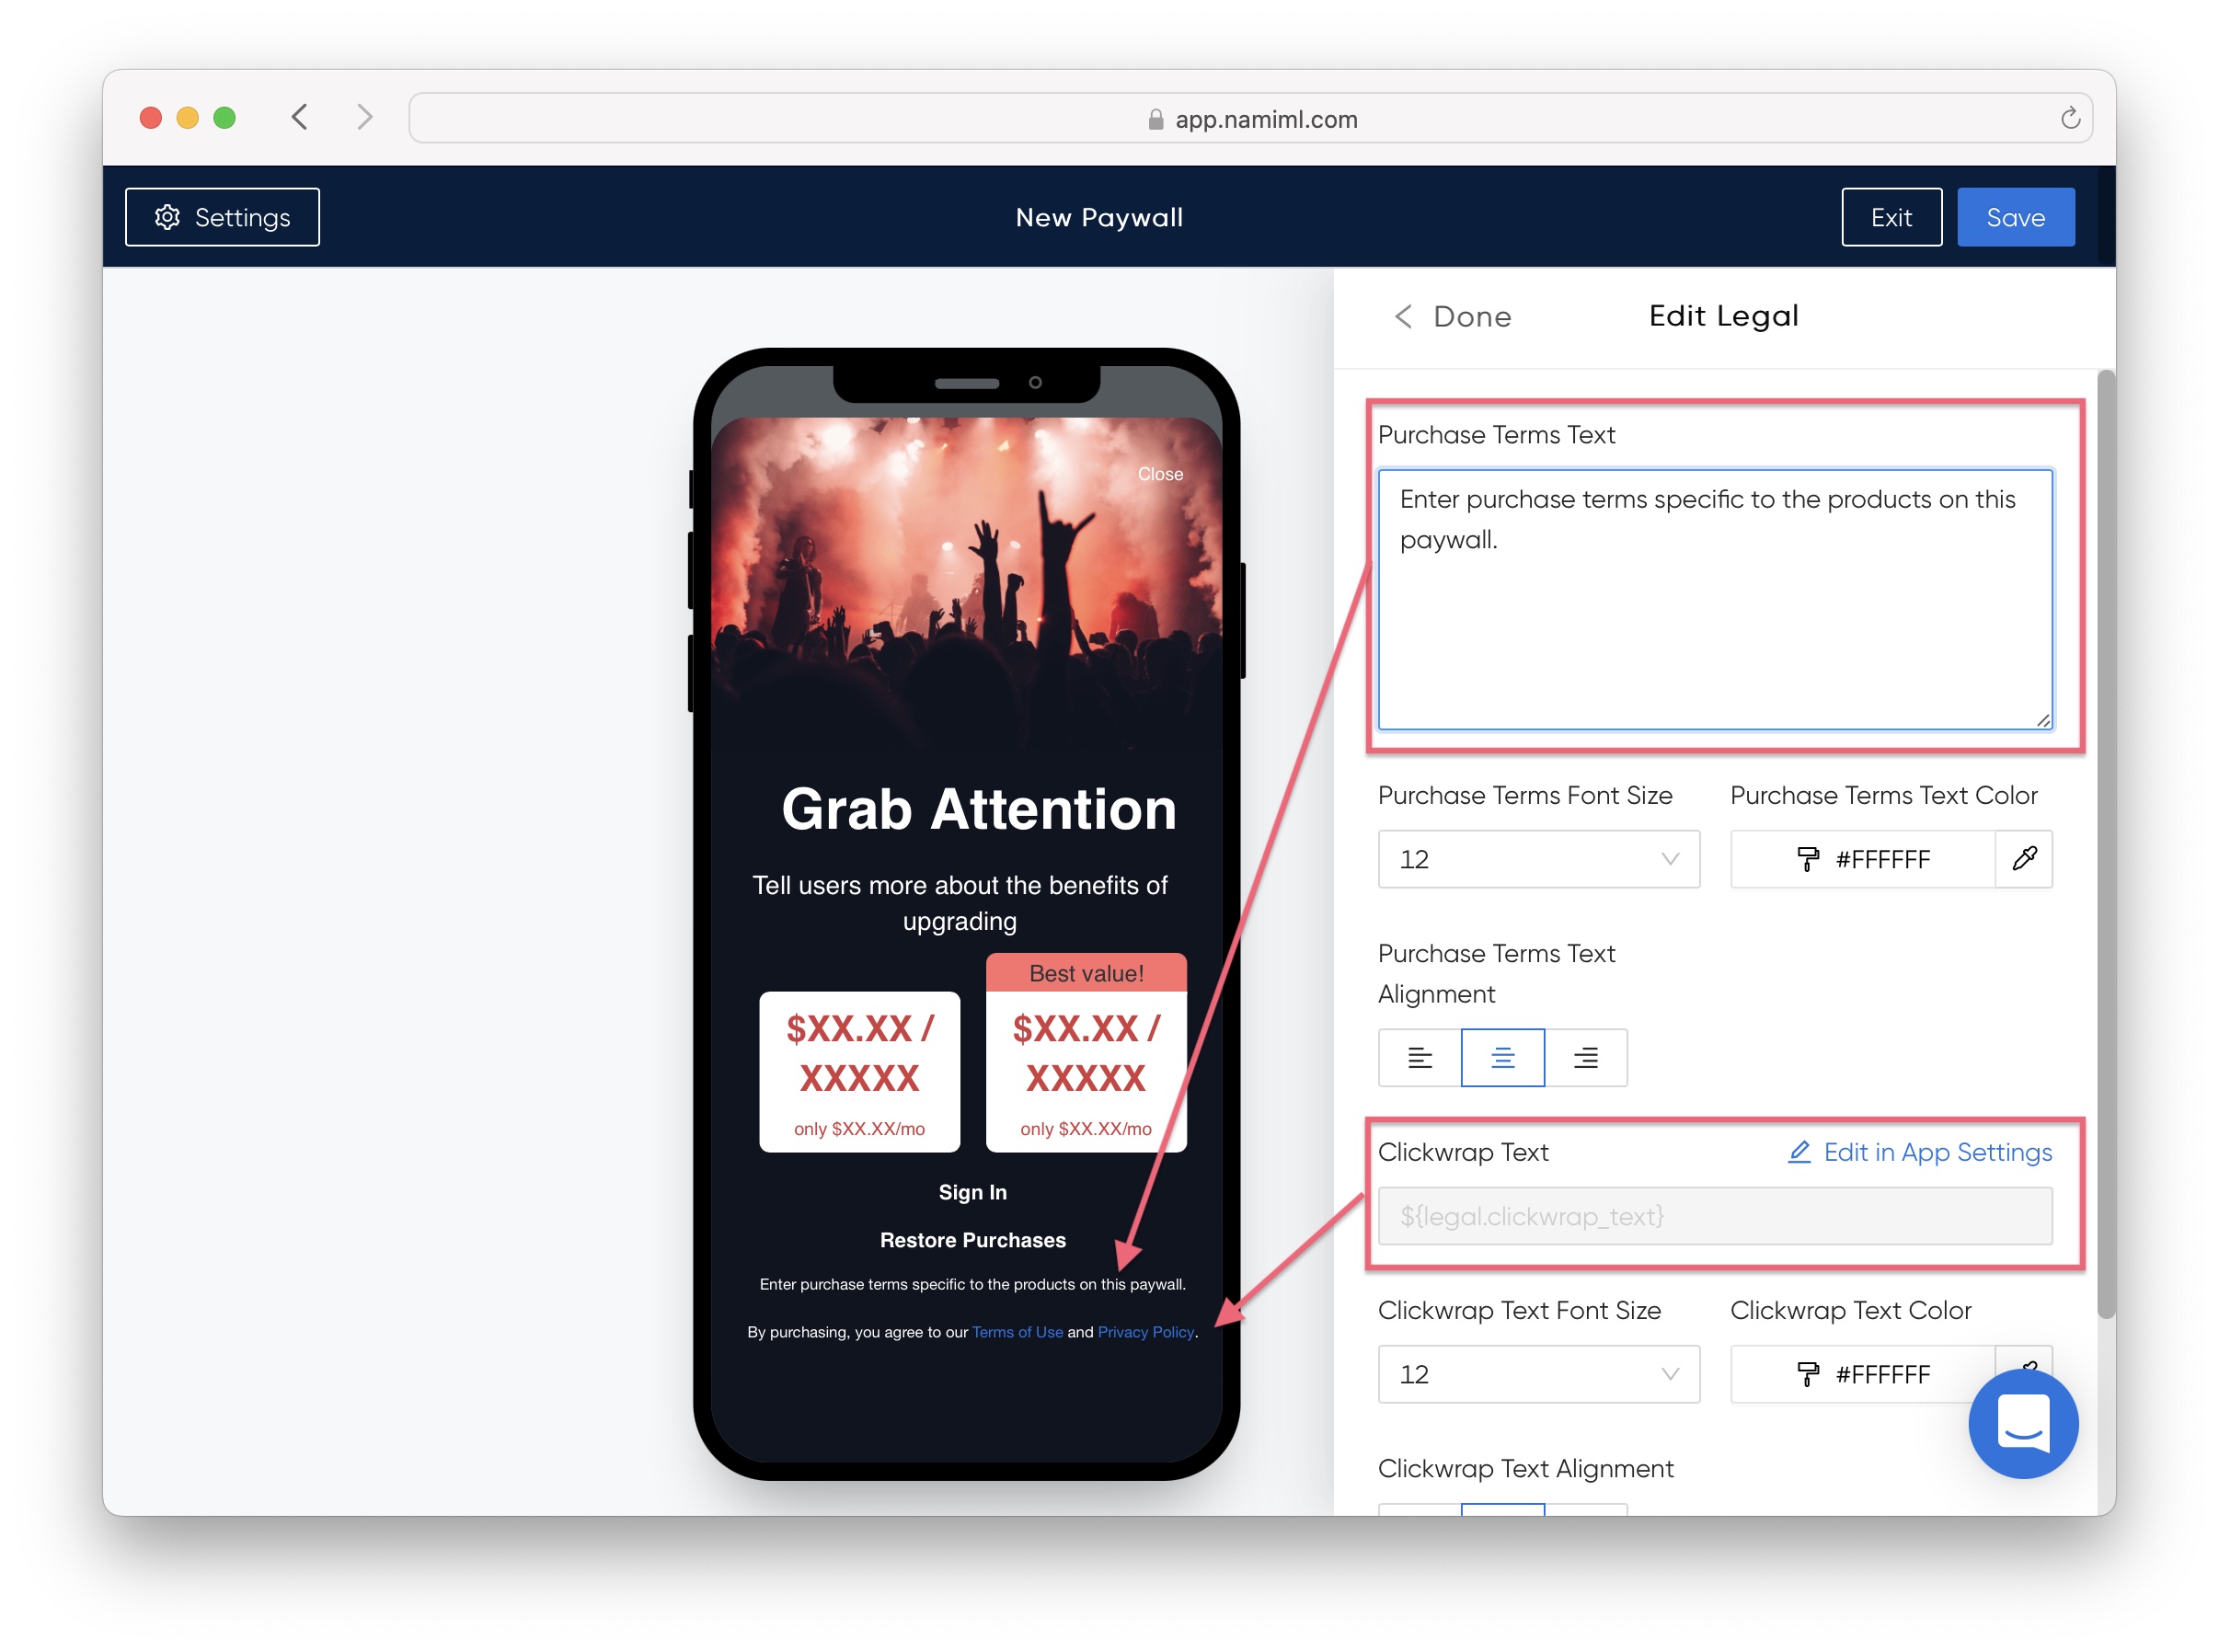
- Navigate to the Legal component under the Controls tab. Setup paywall legalese. Click "Save" to save your changes.
Paywalls can display Purchase Terms and link to your Terms of Use and Privacy Policy.
Purchase Terms are configured per paywall.
Terms of Use and Privacy Policy are configured per-app, navigate to App Settings to populate.
Learn more about Setting up Legal Text.
Legal & App Review
Apple App Store apps must somewhere surface a Privacy Policy and Terms of Use. This does not have to be done within the paywall, but that is a best practice.
If the Privacy Policy and Terms of Use fields in App Settings are left blank, no legal links will be displayed within the paywall.
Paywall Preview
For convenience, the Paywall Creator provides a live preview that is an approximation of the real paywall running in your app.
A Note About Paywall Preview
The paywall preview is running in a browser, not in native app code. It is intended to be a close approximation, not a pixel perfect rendering, of how the paywall will look in your app.
Updated about 1 month ago
